This tradition started back during Christmas 2011 when my mom got me the Wilton Gingerbread House Mold Pans. They came with the recipe I will share below on how to make your own gingerbread dough from scratch. So I thought, let’s try this out and it has continued every Christmas Eve. SO much tastier than the store bought kits that you don’t even eat and it makes the house smell amazing! The Wilton Gingerbread House Mold Pan you see me use has been discontinued but I found gingerbread house cutter pieces to make your own gingerbread house using the same gingerbread recipe I share below. Any links shared in this post are Amazon Affiliate Links and help support this growing website if you purchase using them. Thank you!
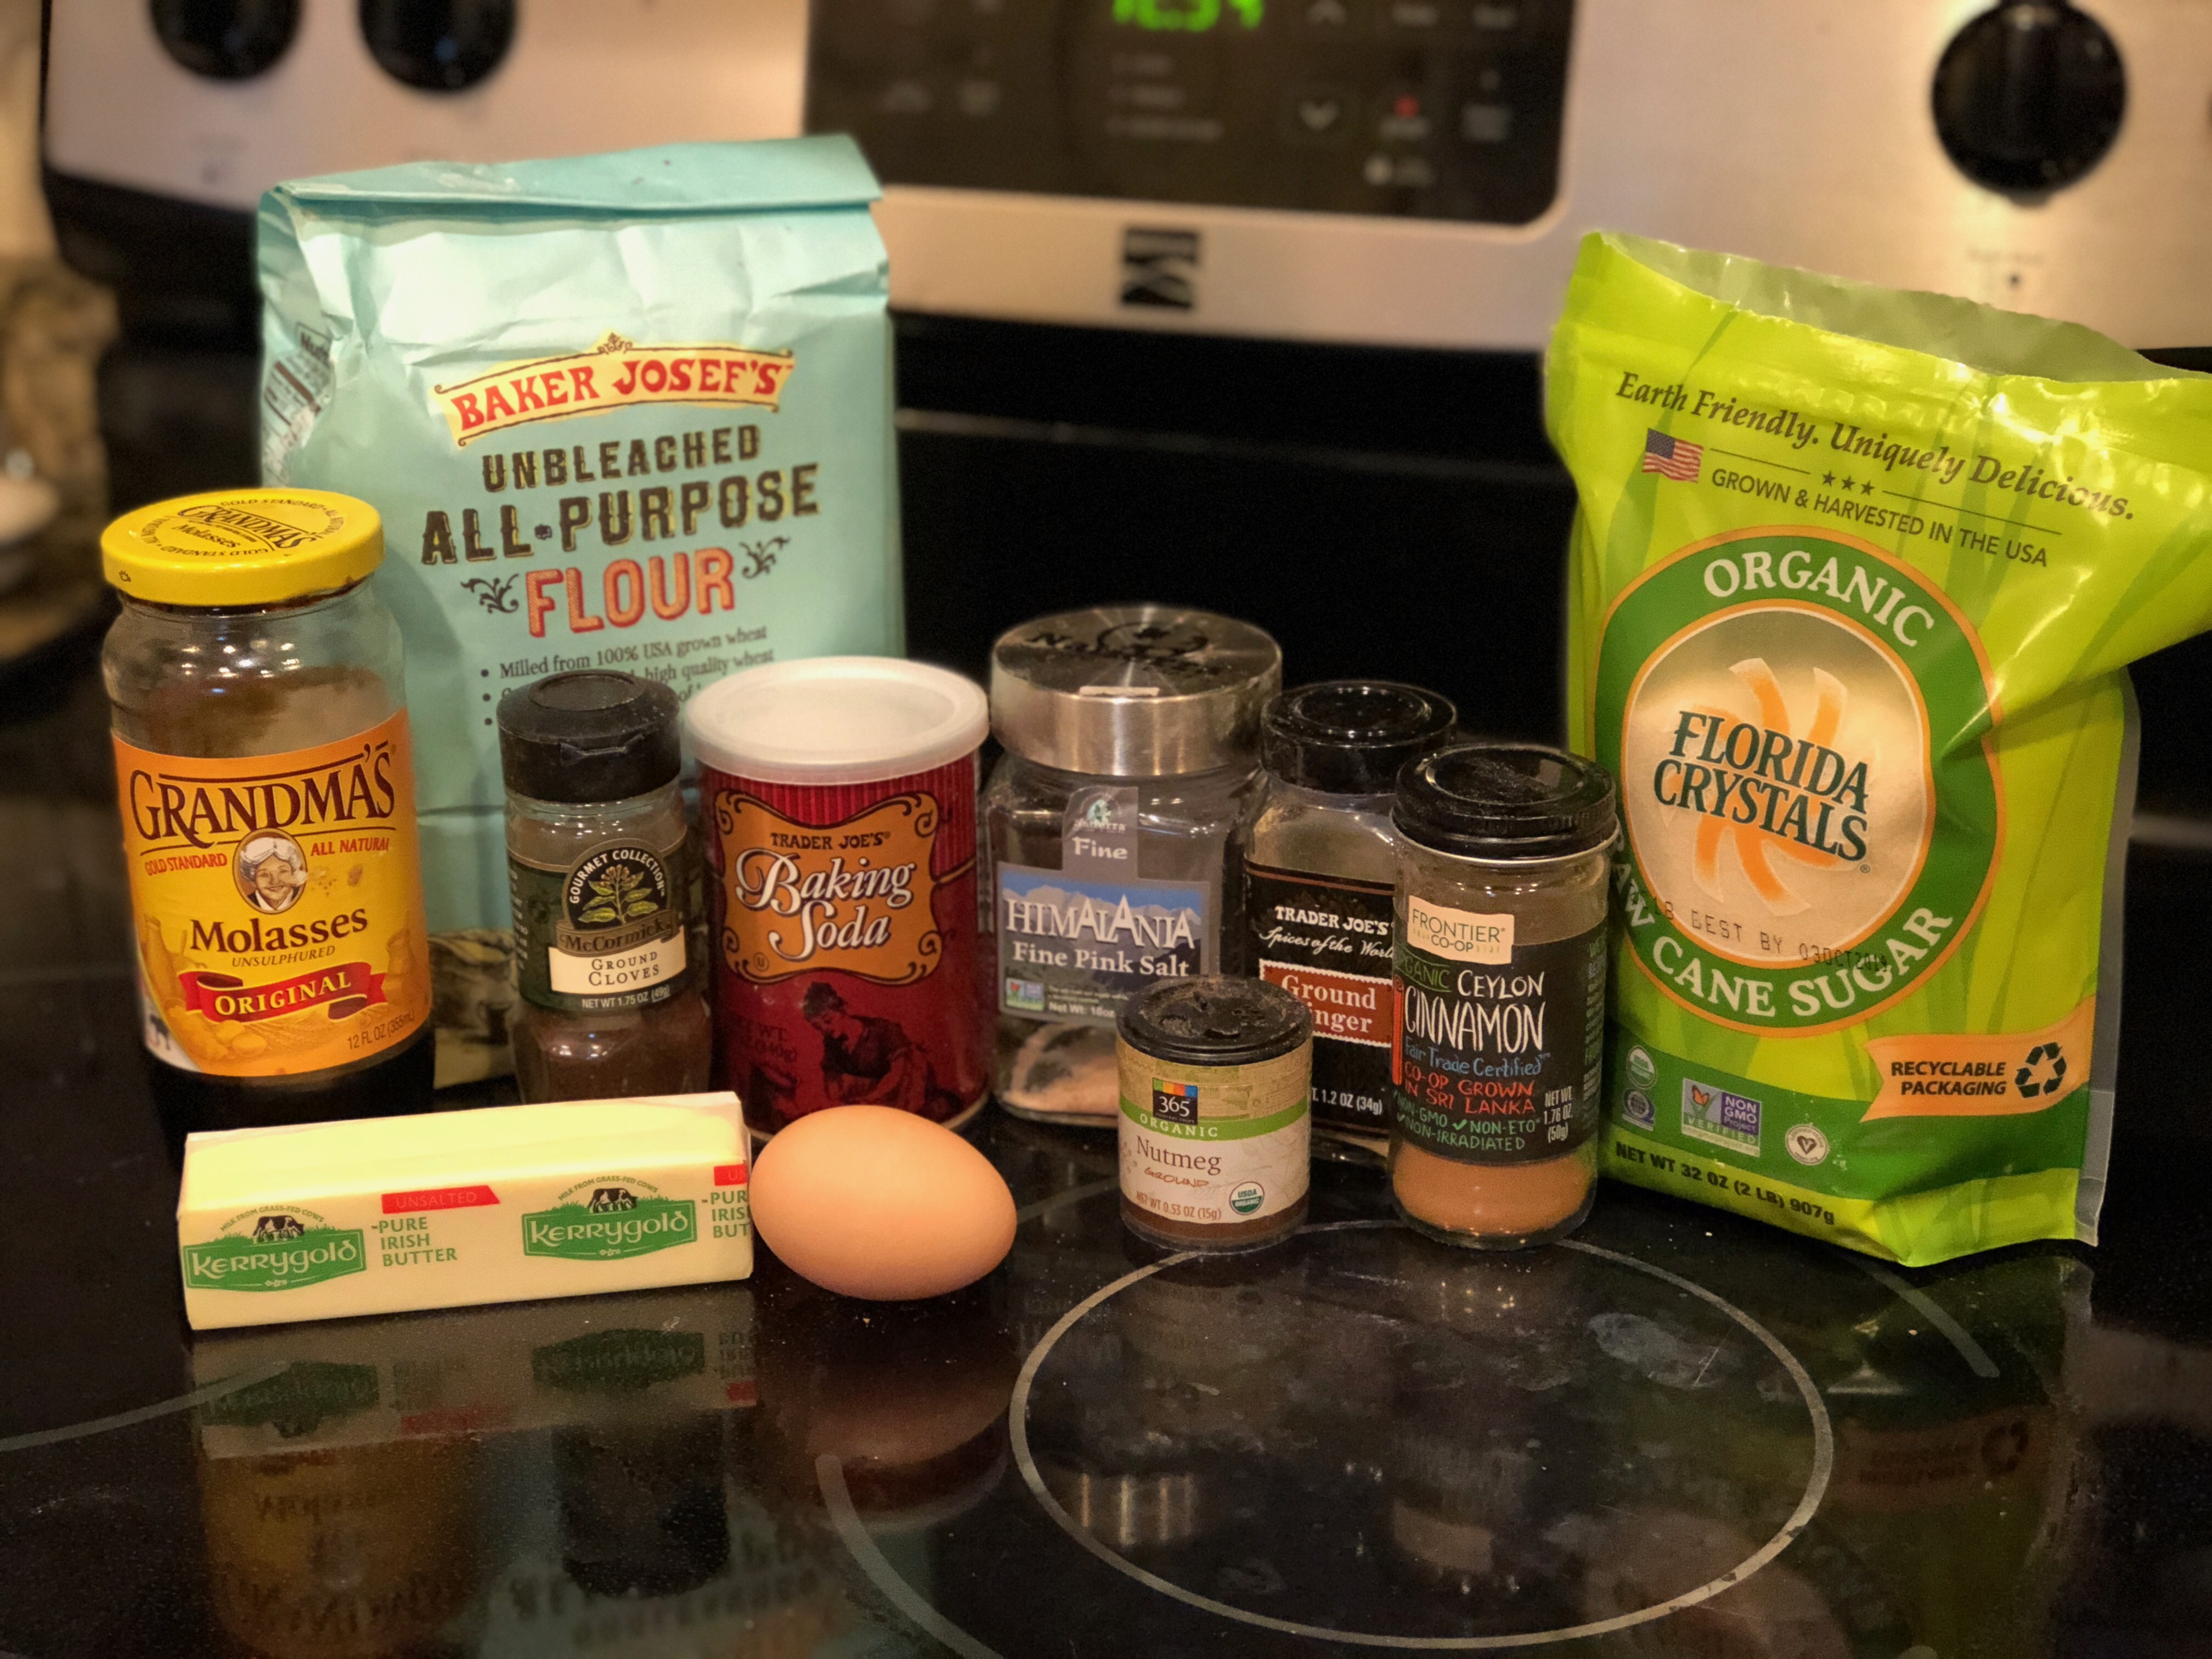
I personally love this tradition, because I know every ingredient going into what my kids will be eating. Here is what you will be needing. Full directions are in a printable recipe at the bottom of this page.
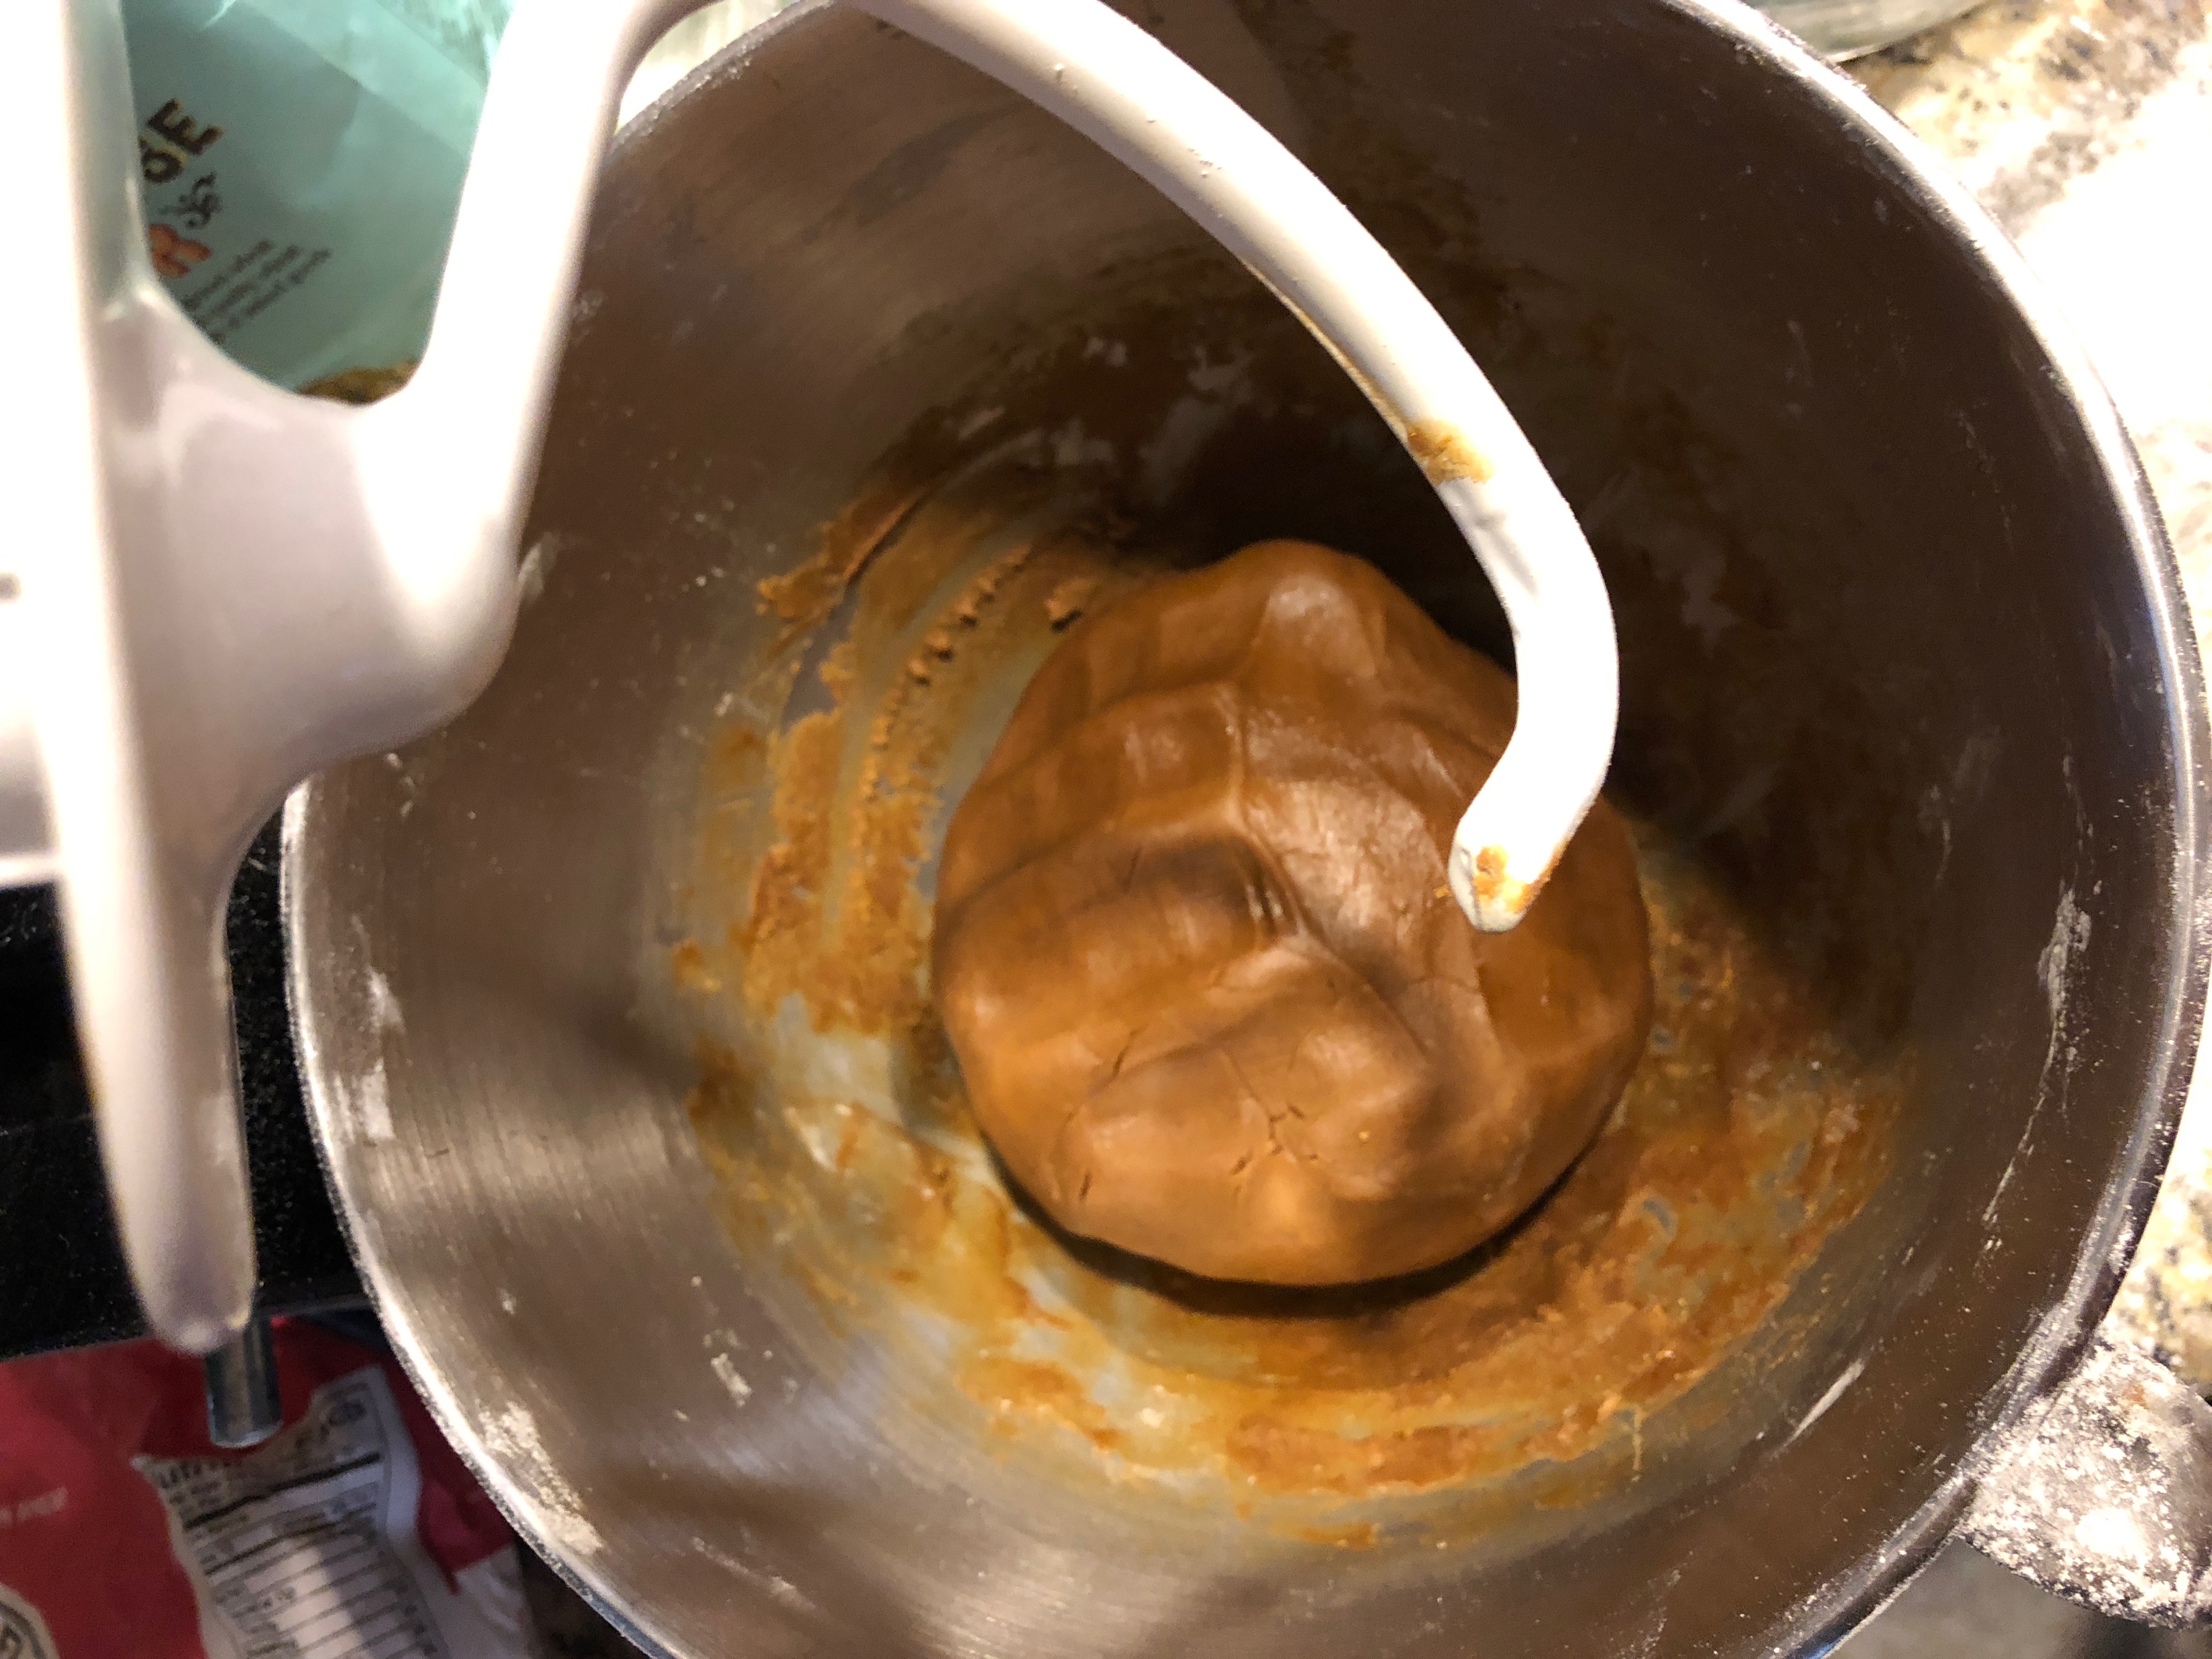
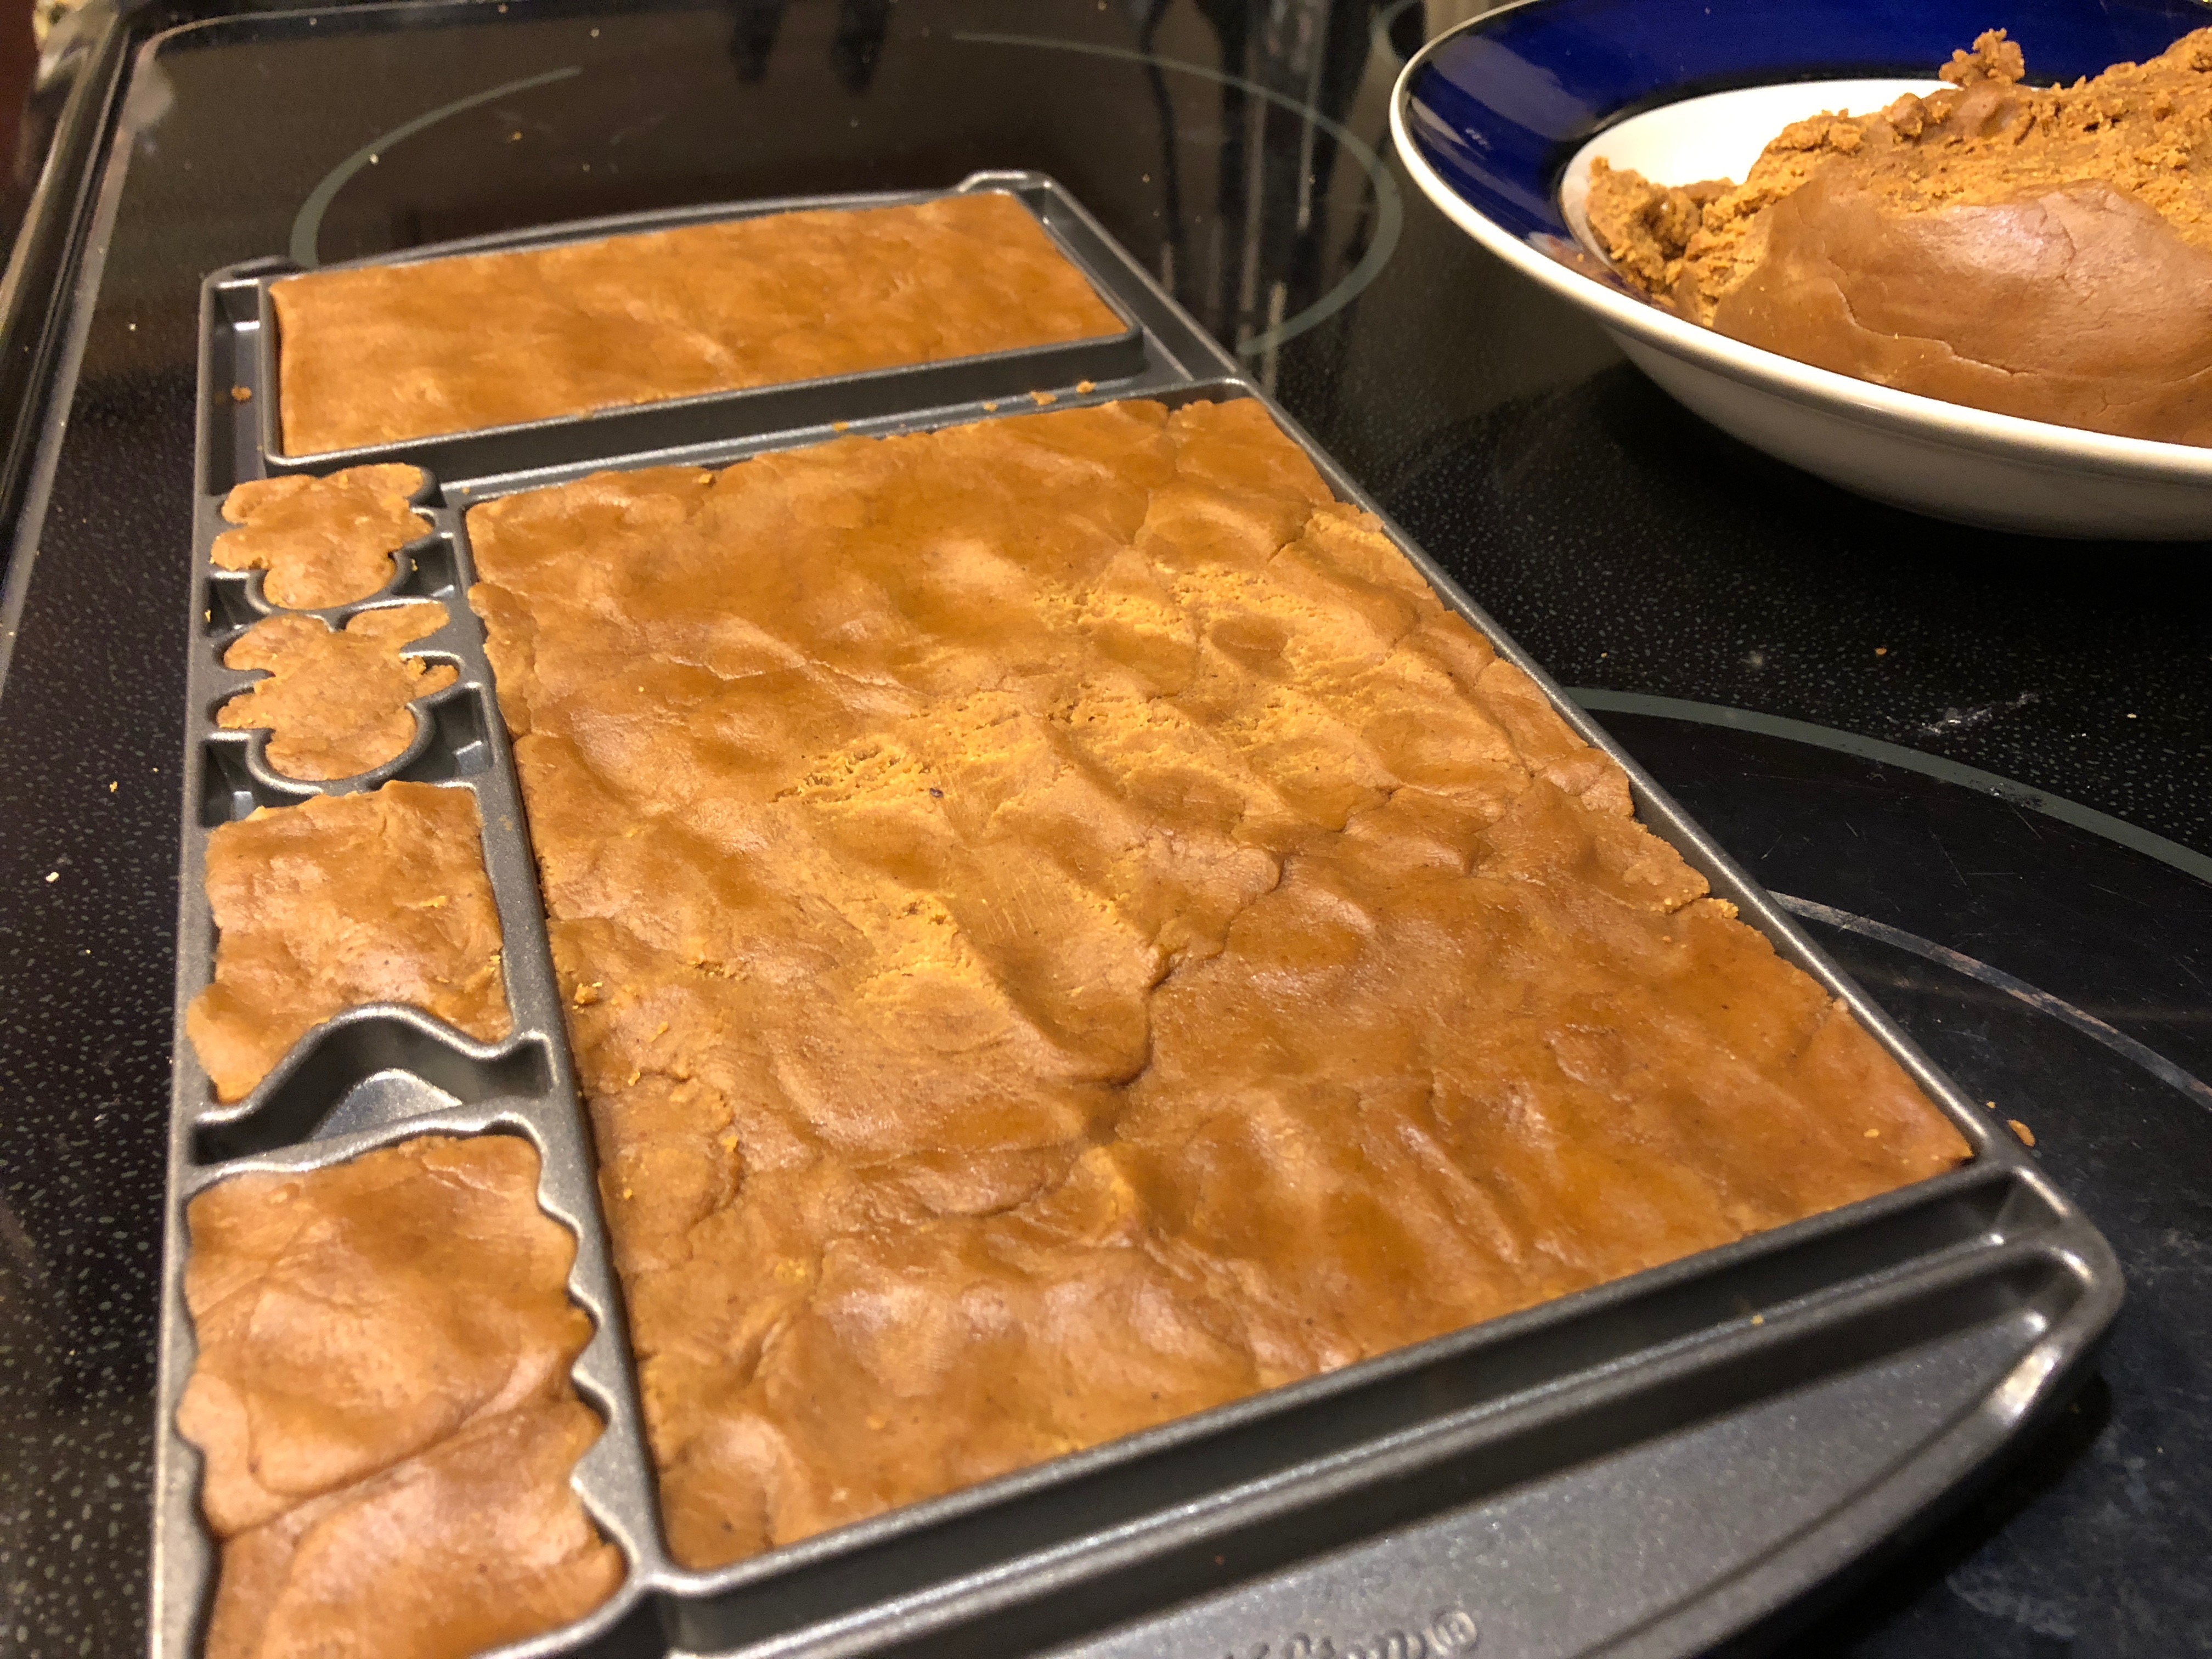
It is pretty easy to make the dough in my Kitchen Aid mixer with dough hook attachment. Less work for me and more fun for the kids to watch! I start out with the paddle attachment first, for mixing, but move to the dough hook at the end. It takes adding some extra flour at the end to really get the dough to turn into a ball like the one you see here. The dough hook attachment really comes in handy here. I did scrape some off the sides and use my hands to create the ball at the end. This is the texture and color you are looking for.
I made this early in the morning and put it in the fridge covered by sarane wrap until we started making it after lunch. It helped firm it up some. I let the kids pull off pieces to push into the mold to start making walls, and gingerbread men.
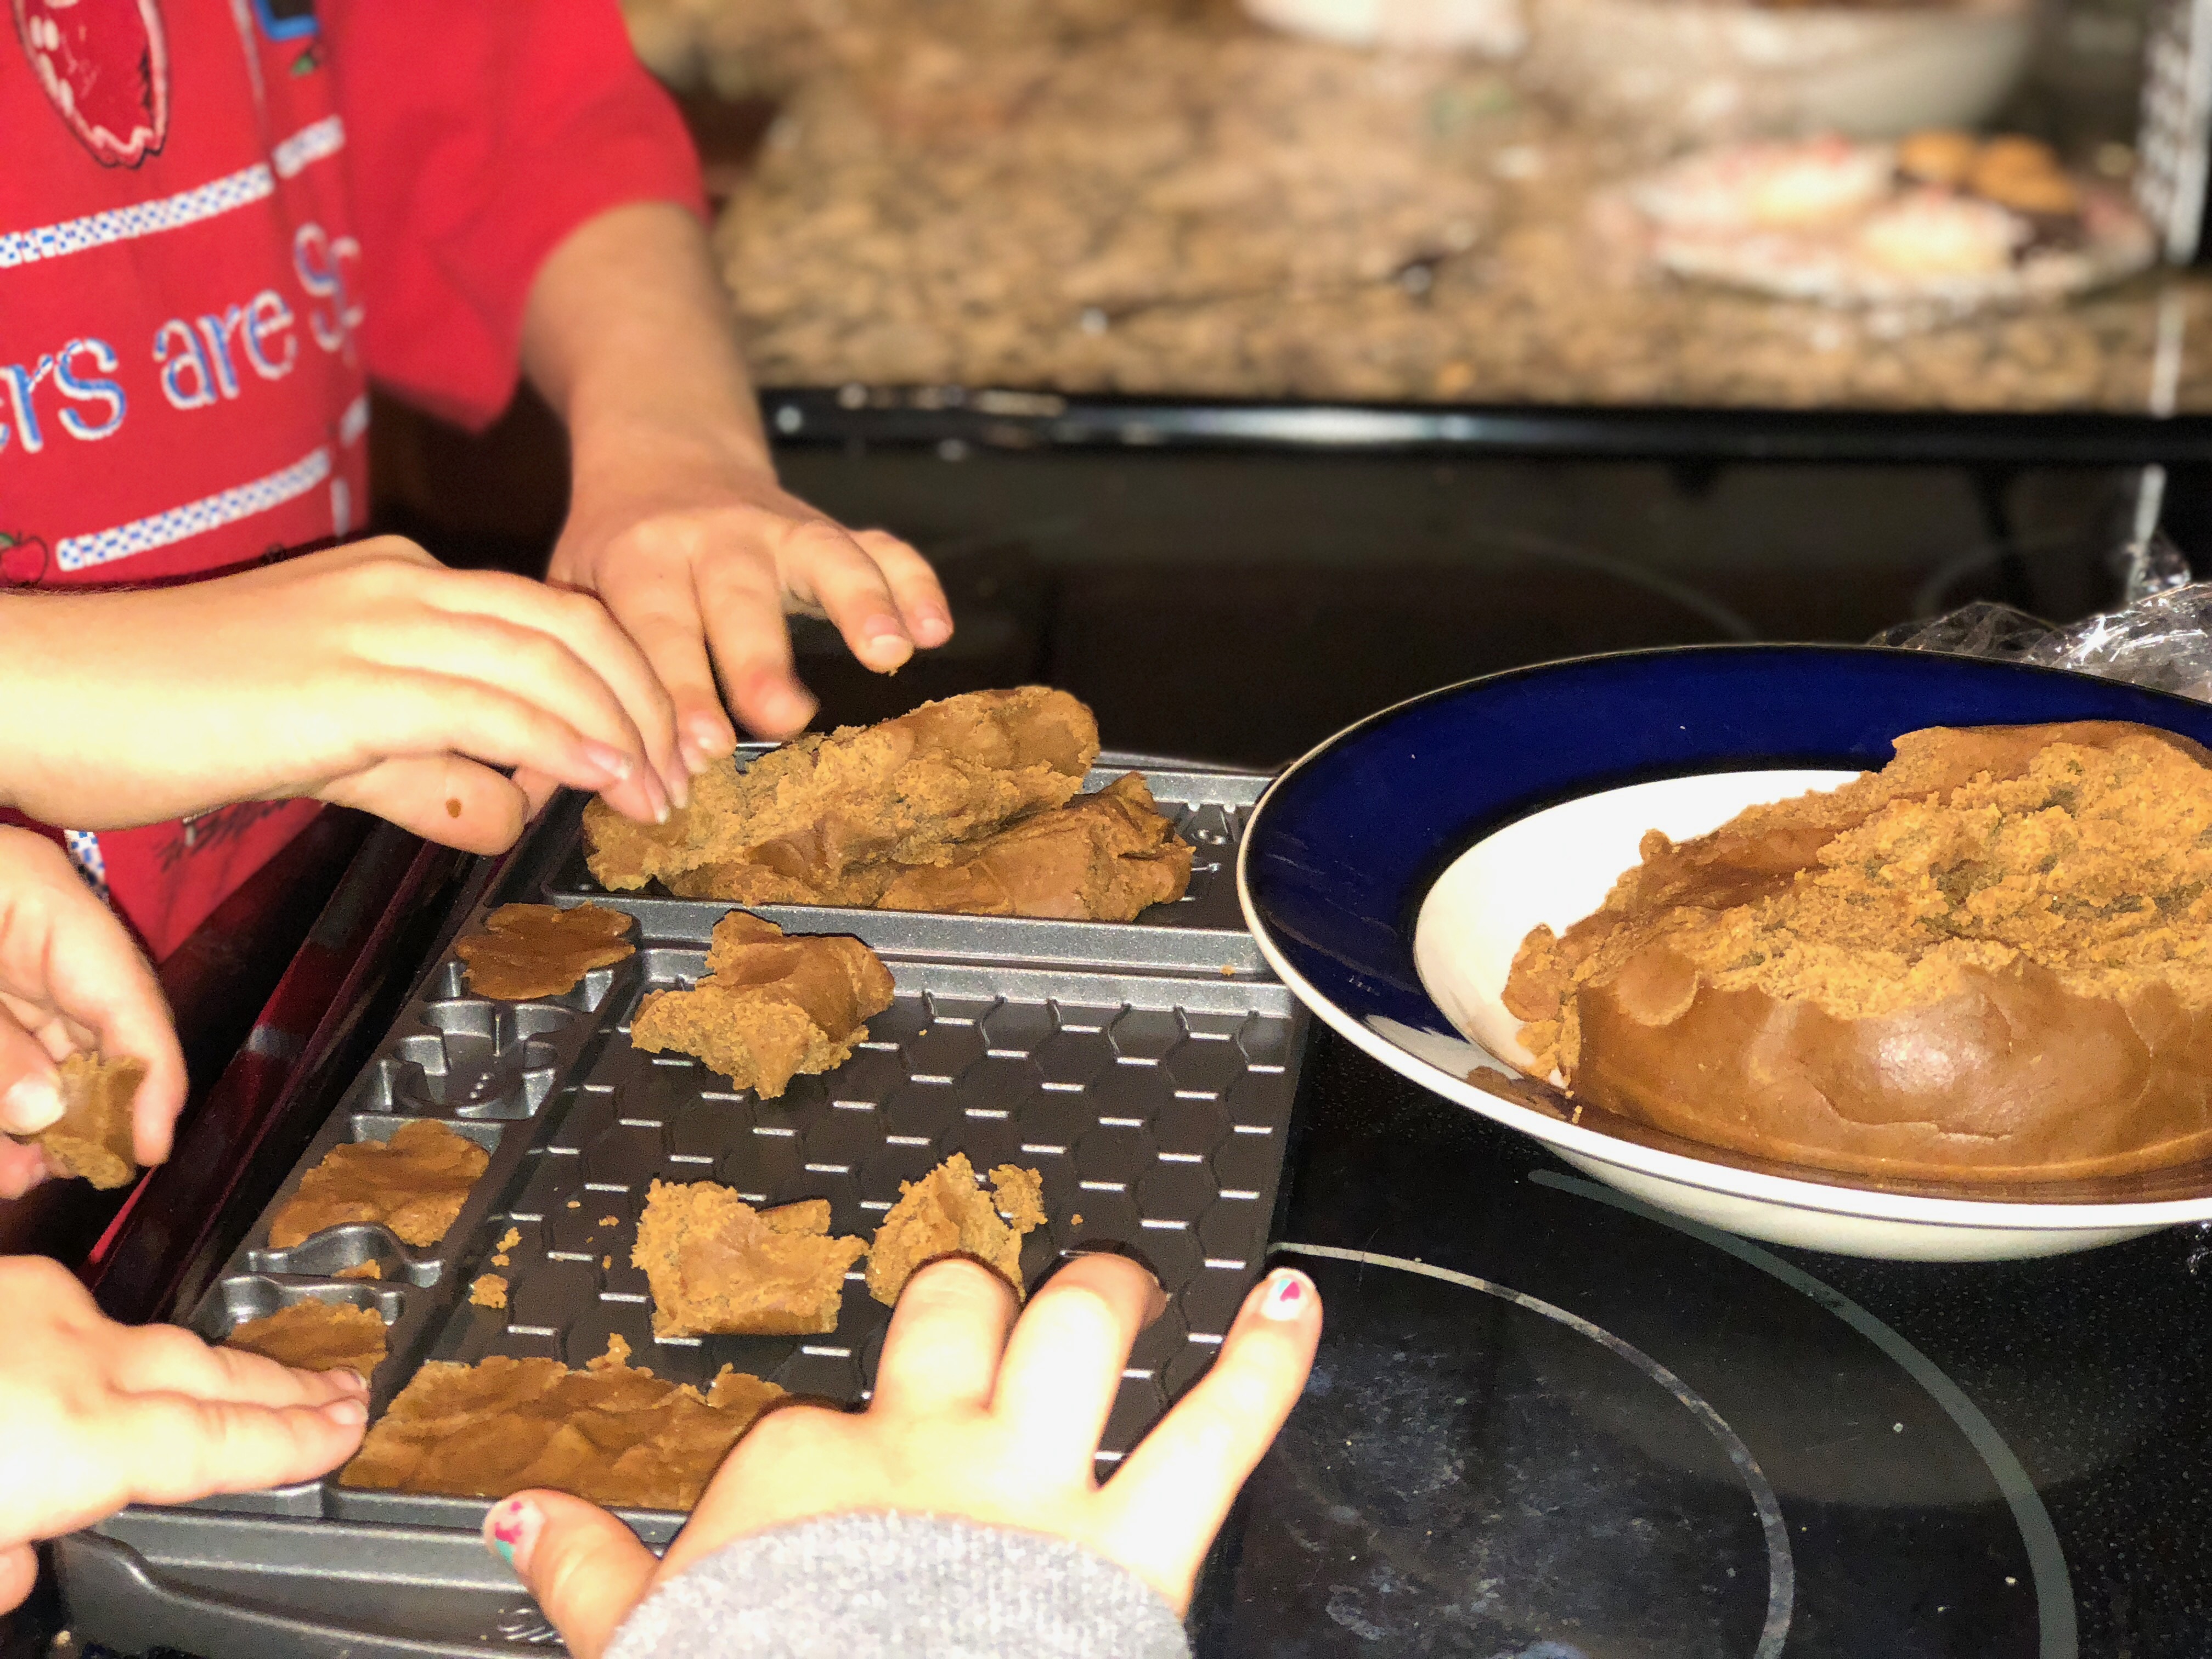
It took us 3 separate oven bakings to bake all the molds to create the house. This mold pan has the molds on both sides. Here is what it looked like once we got the gingerbread in the pan.
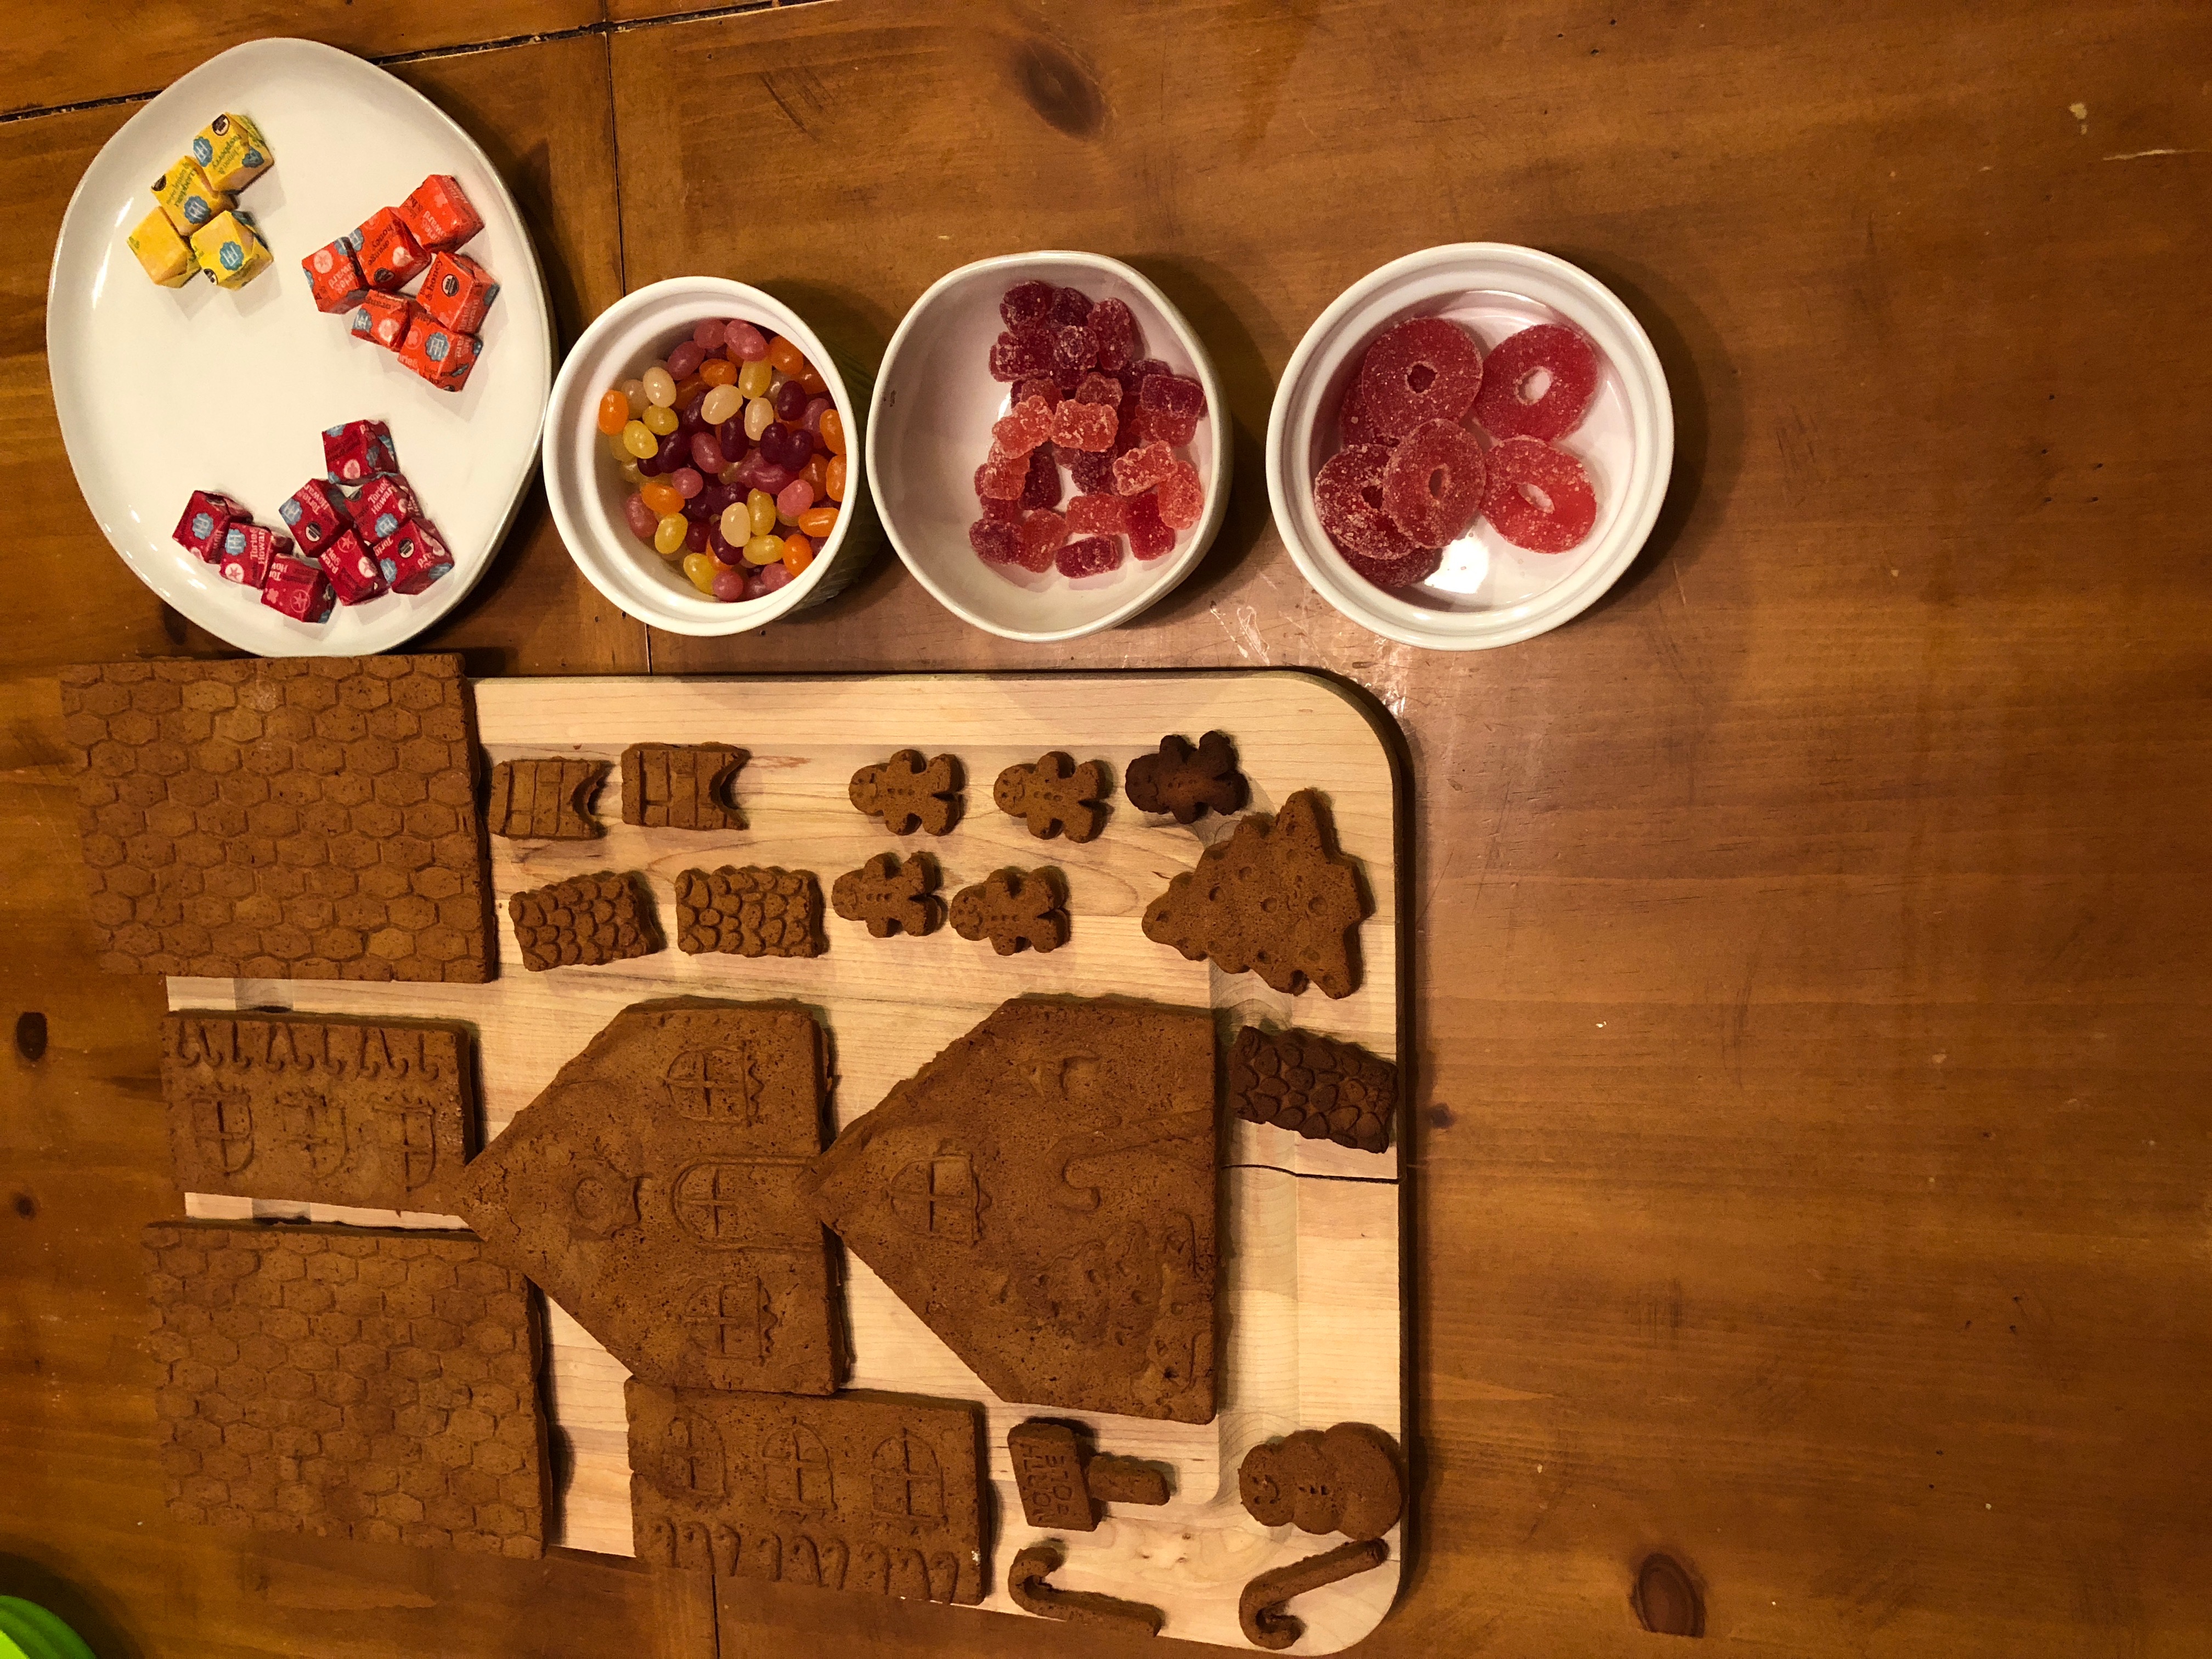
Here are all the pieces cooling and the candy for decorating. I got them at Whole Foods, so no food colorings or extra high fructose corn syrup in these. It is the little things that make me happy. We love using these Jelly Beans, they are great for lights on the gingerbread house.
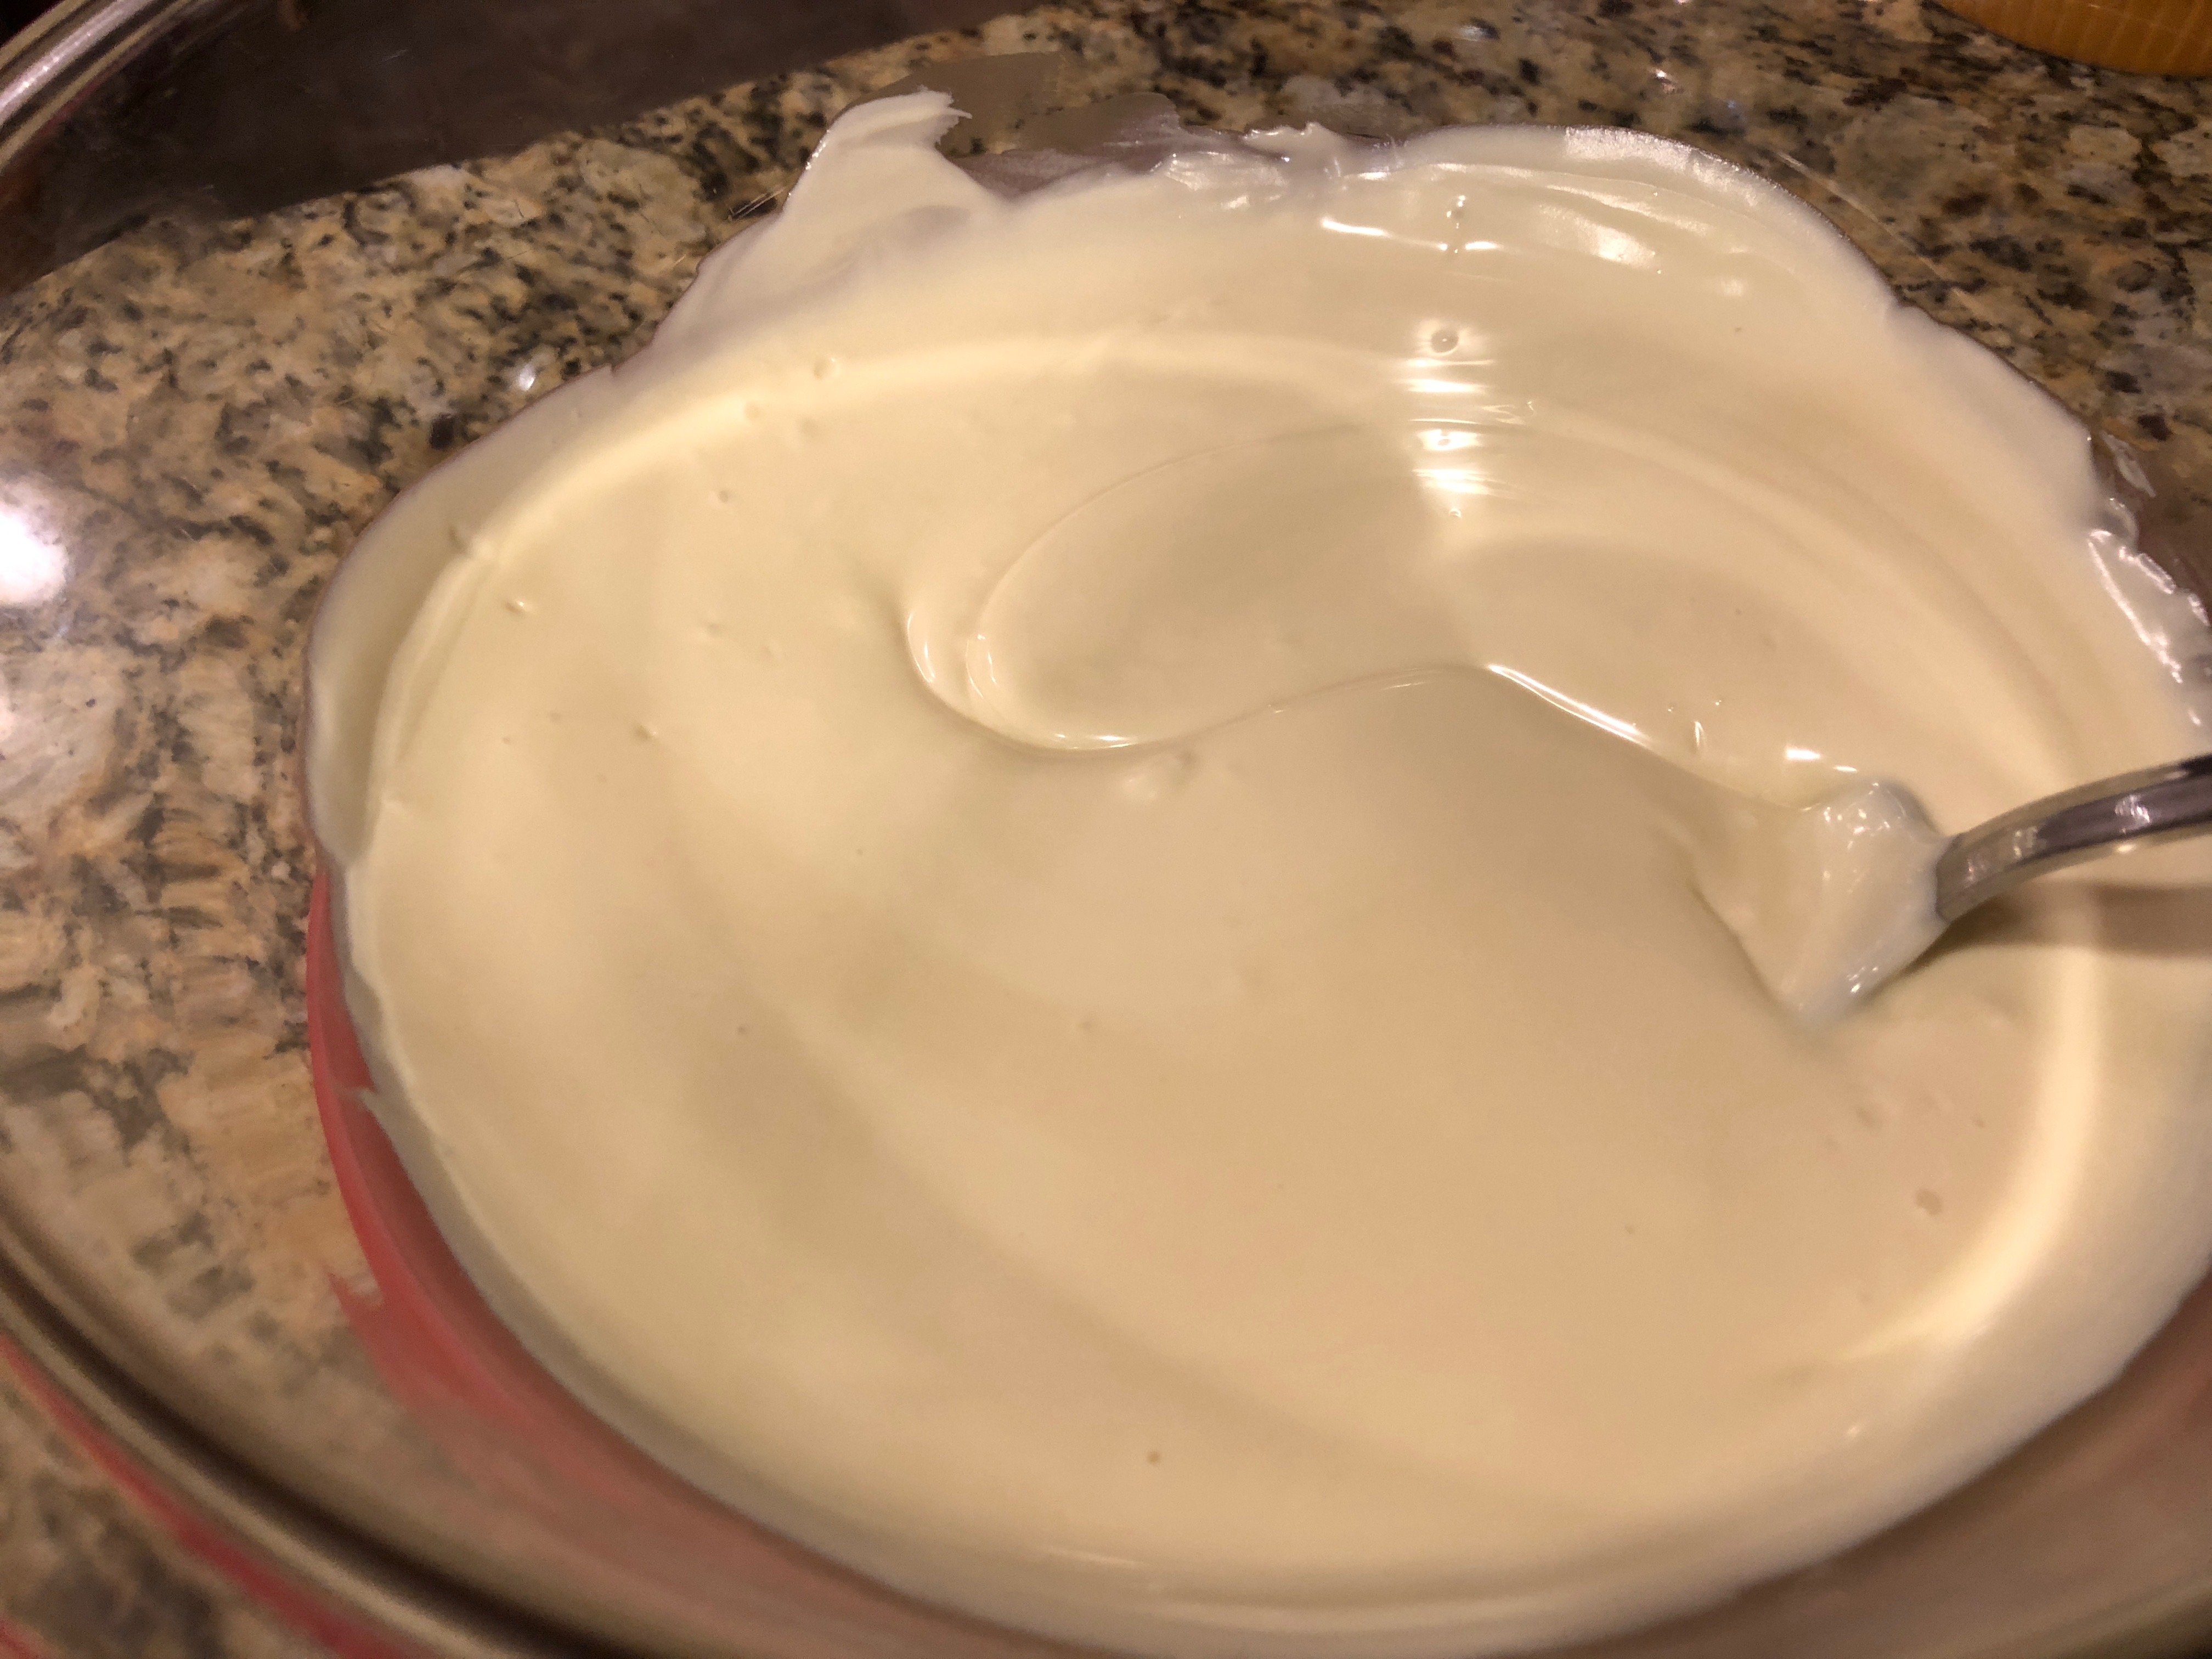
While the last of the walls are cooling, I start melting my white chocolate to be the glue to hold our house together! I pour the white chocolate chips in a glass bowl and heat them slowly in the microwave. Starting at 1 min, then stir, then 30 seconds as needed and stir. You want it melted but not super liquid. If it is too runny then it won’t work well for holding the walls together. You might have to put it into the fridge or freezer for a bit to help it thicken.
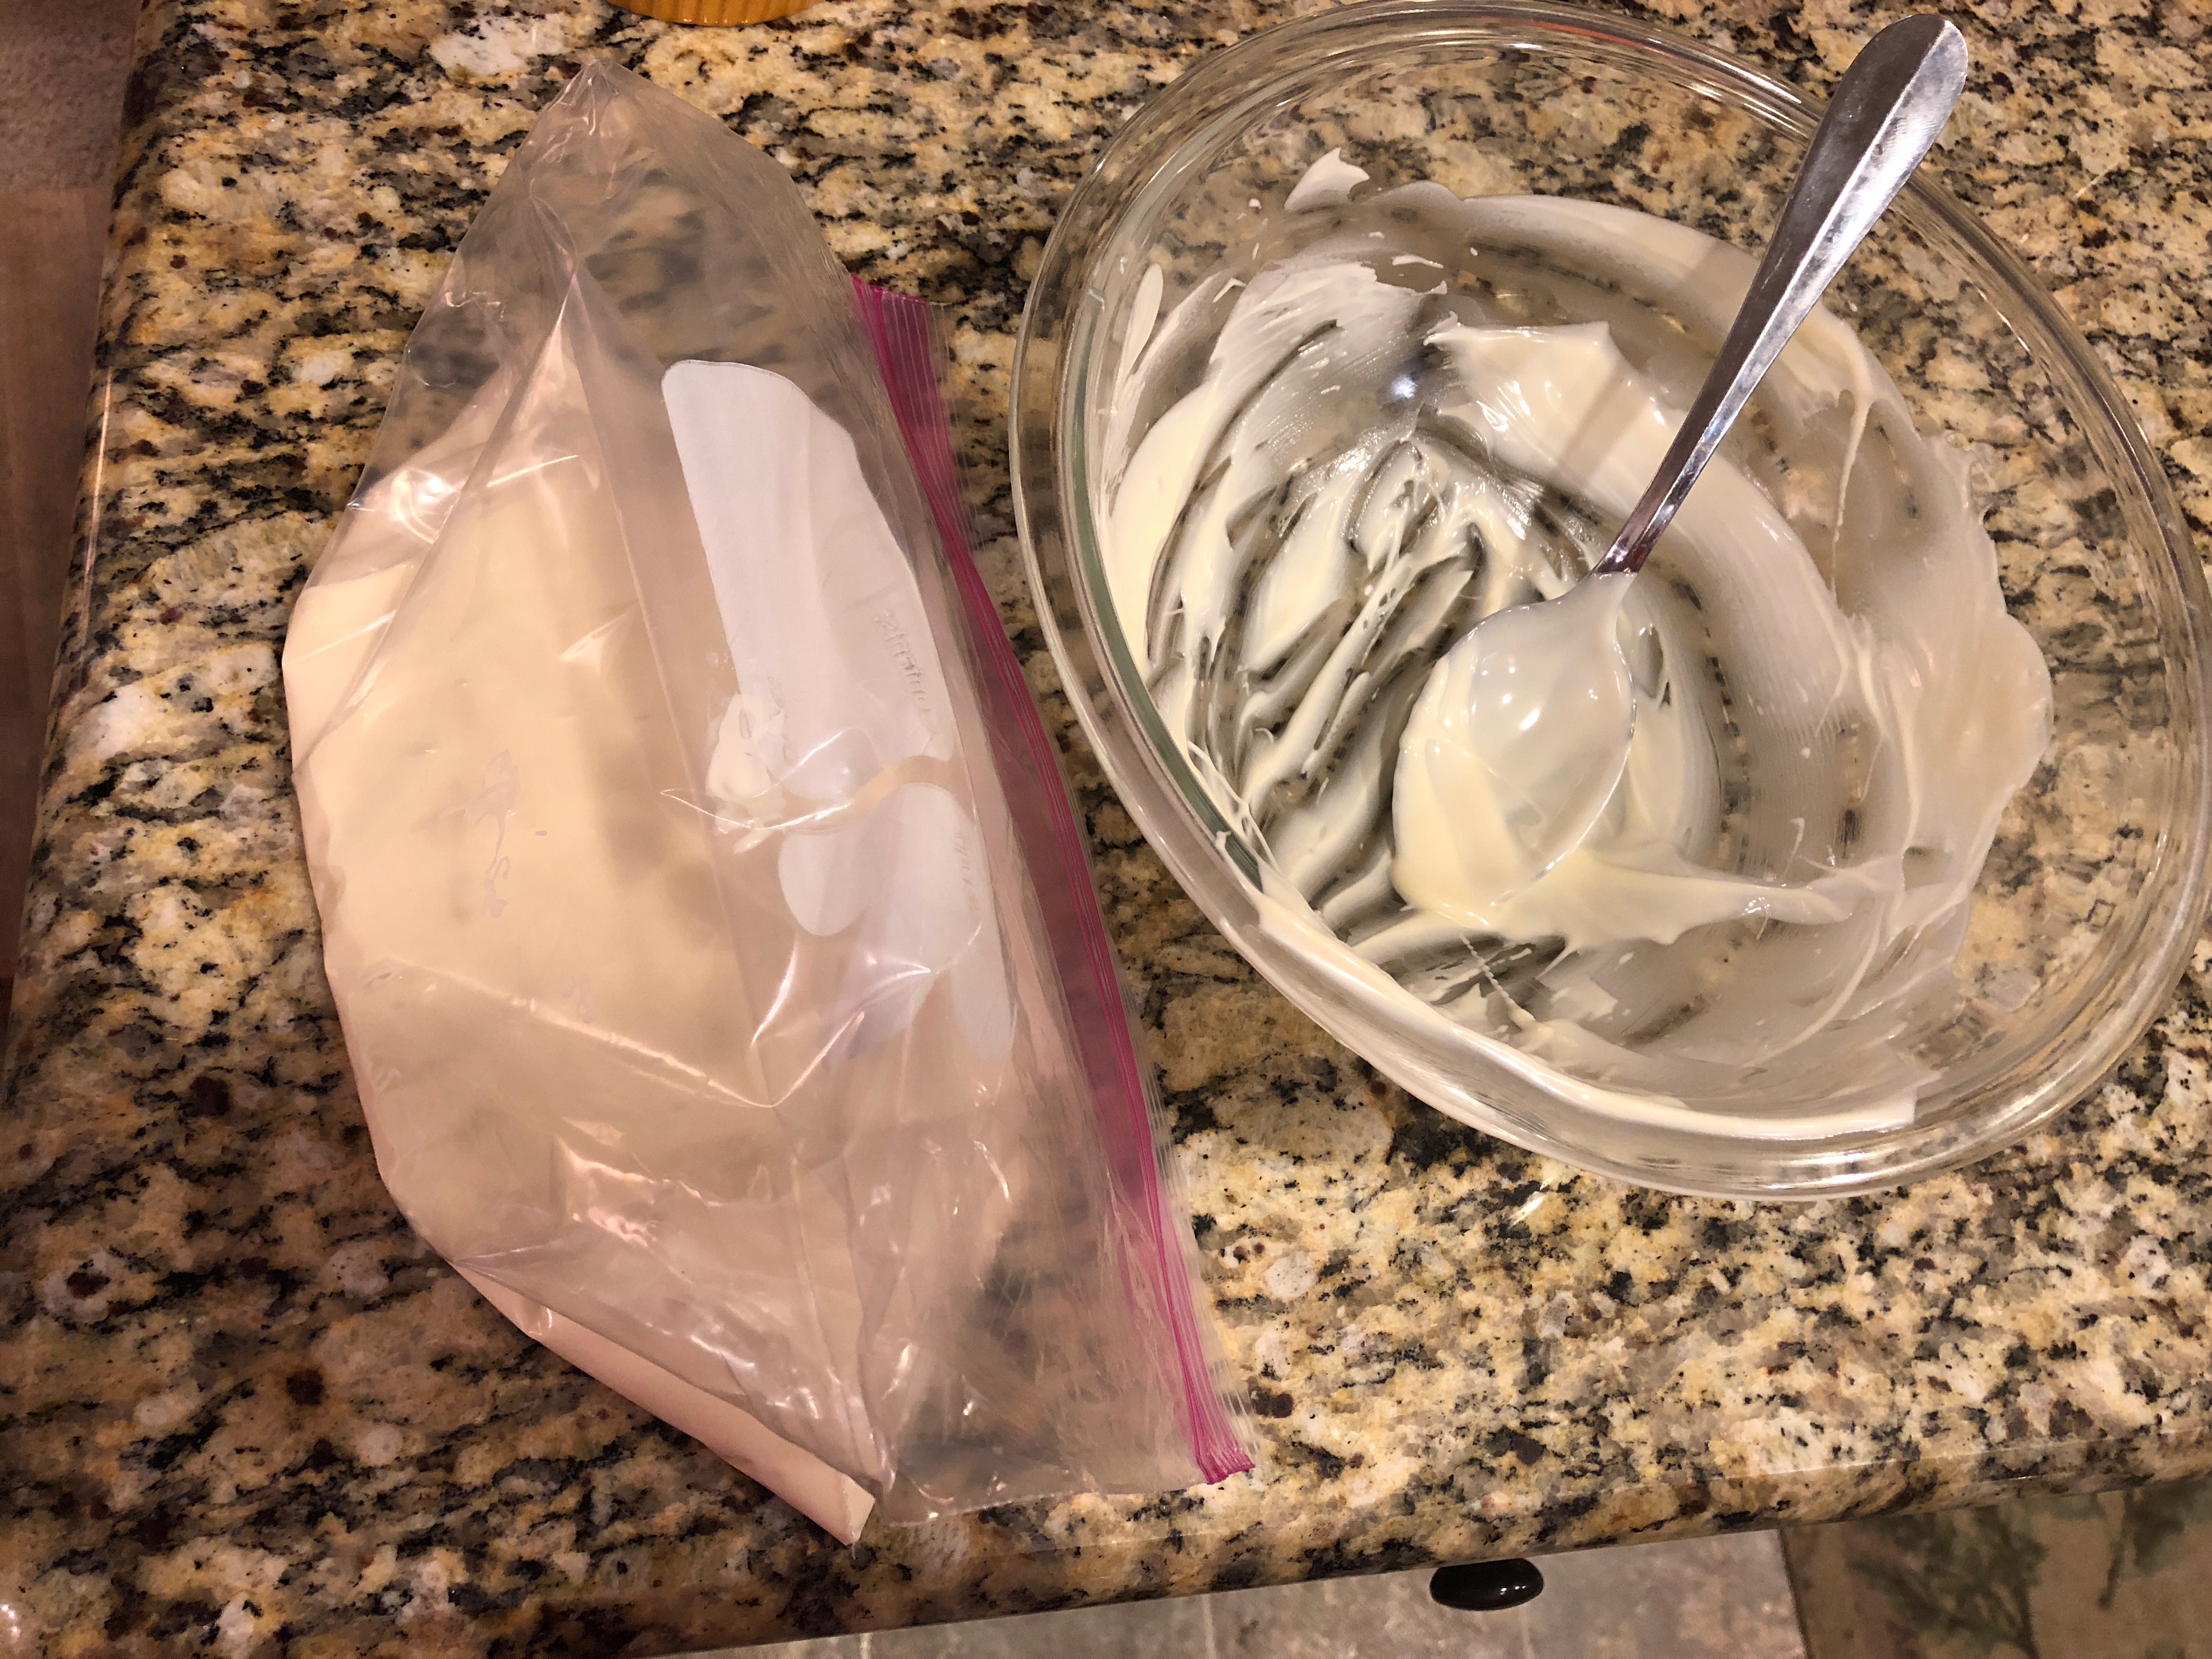
We put the melted white chocolate in a gallon ziplock bag and cut the corner off for easy squeezing!
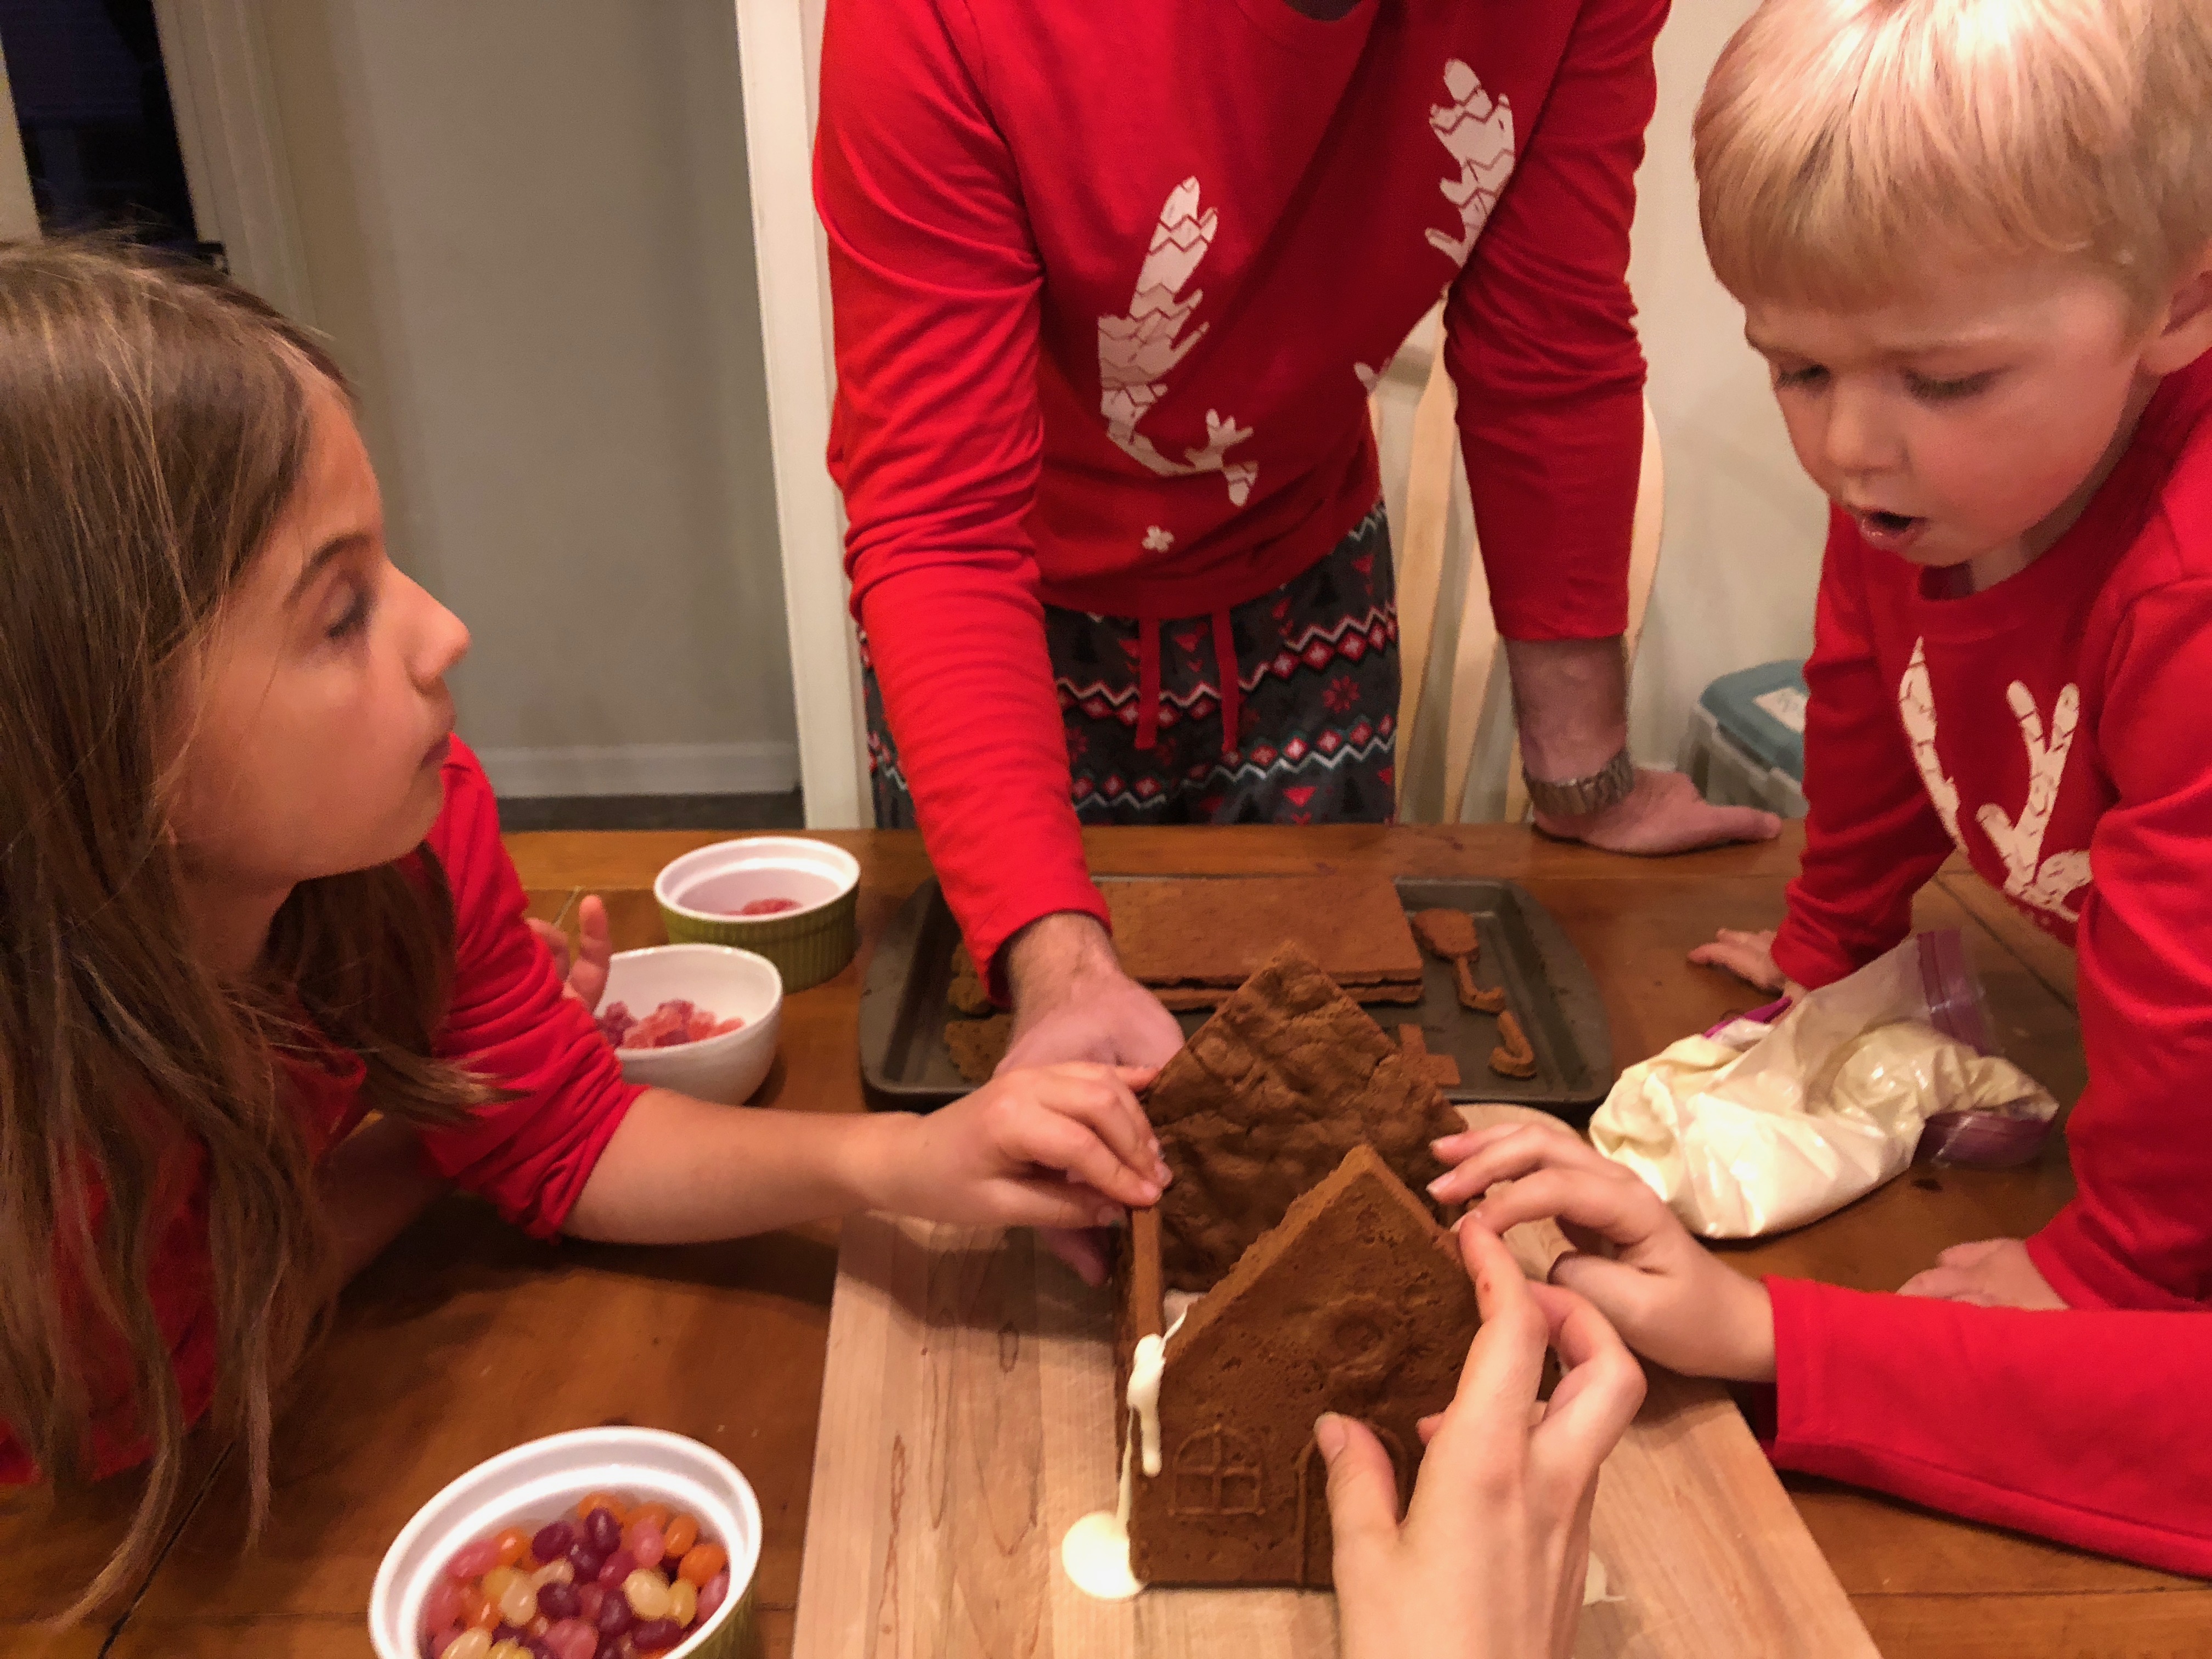
Now the building starts when the house pieces are cool and the white chooclate is a nice thick but gooey texture. We start with the base four walls and each kid helps hold a wall to let the white chocolate cool and harden.
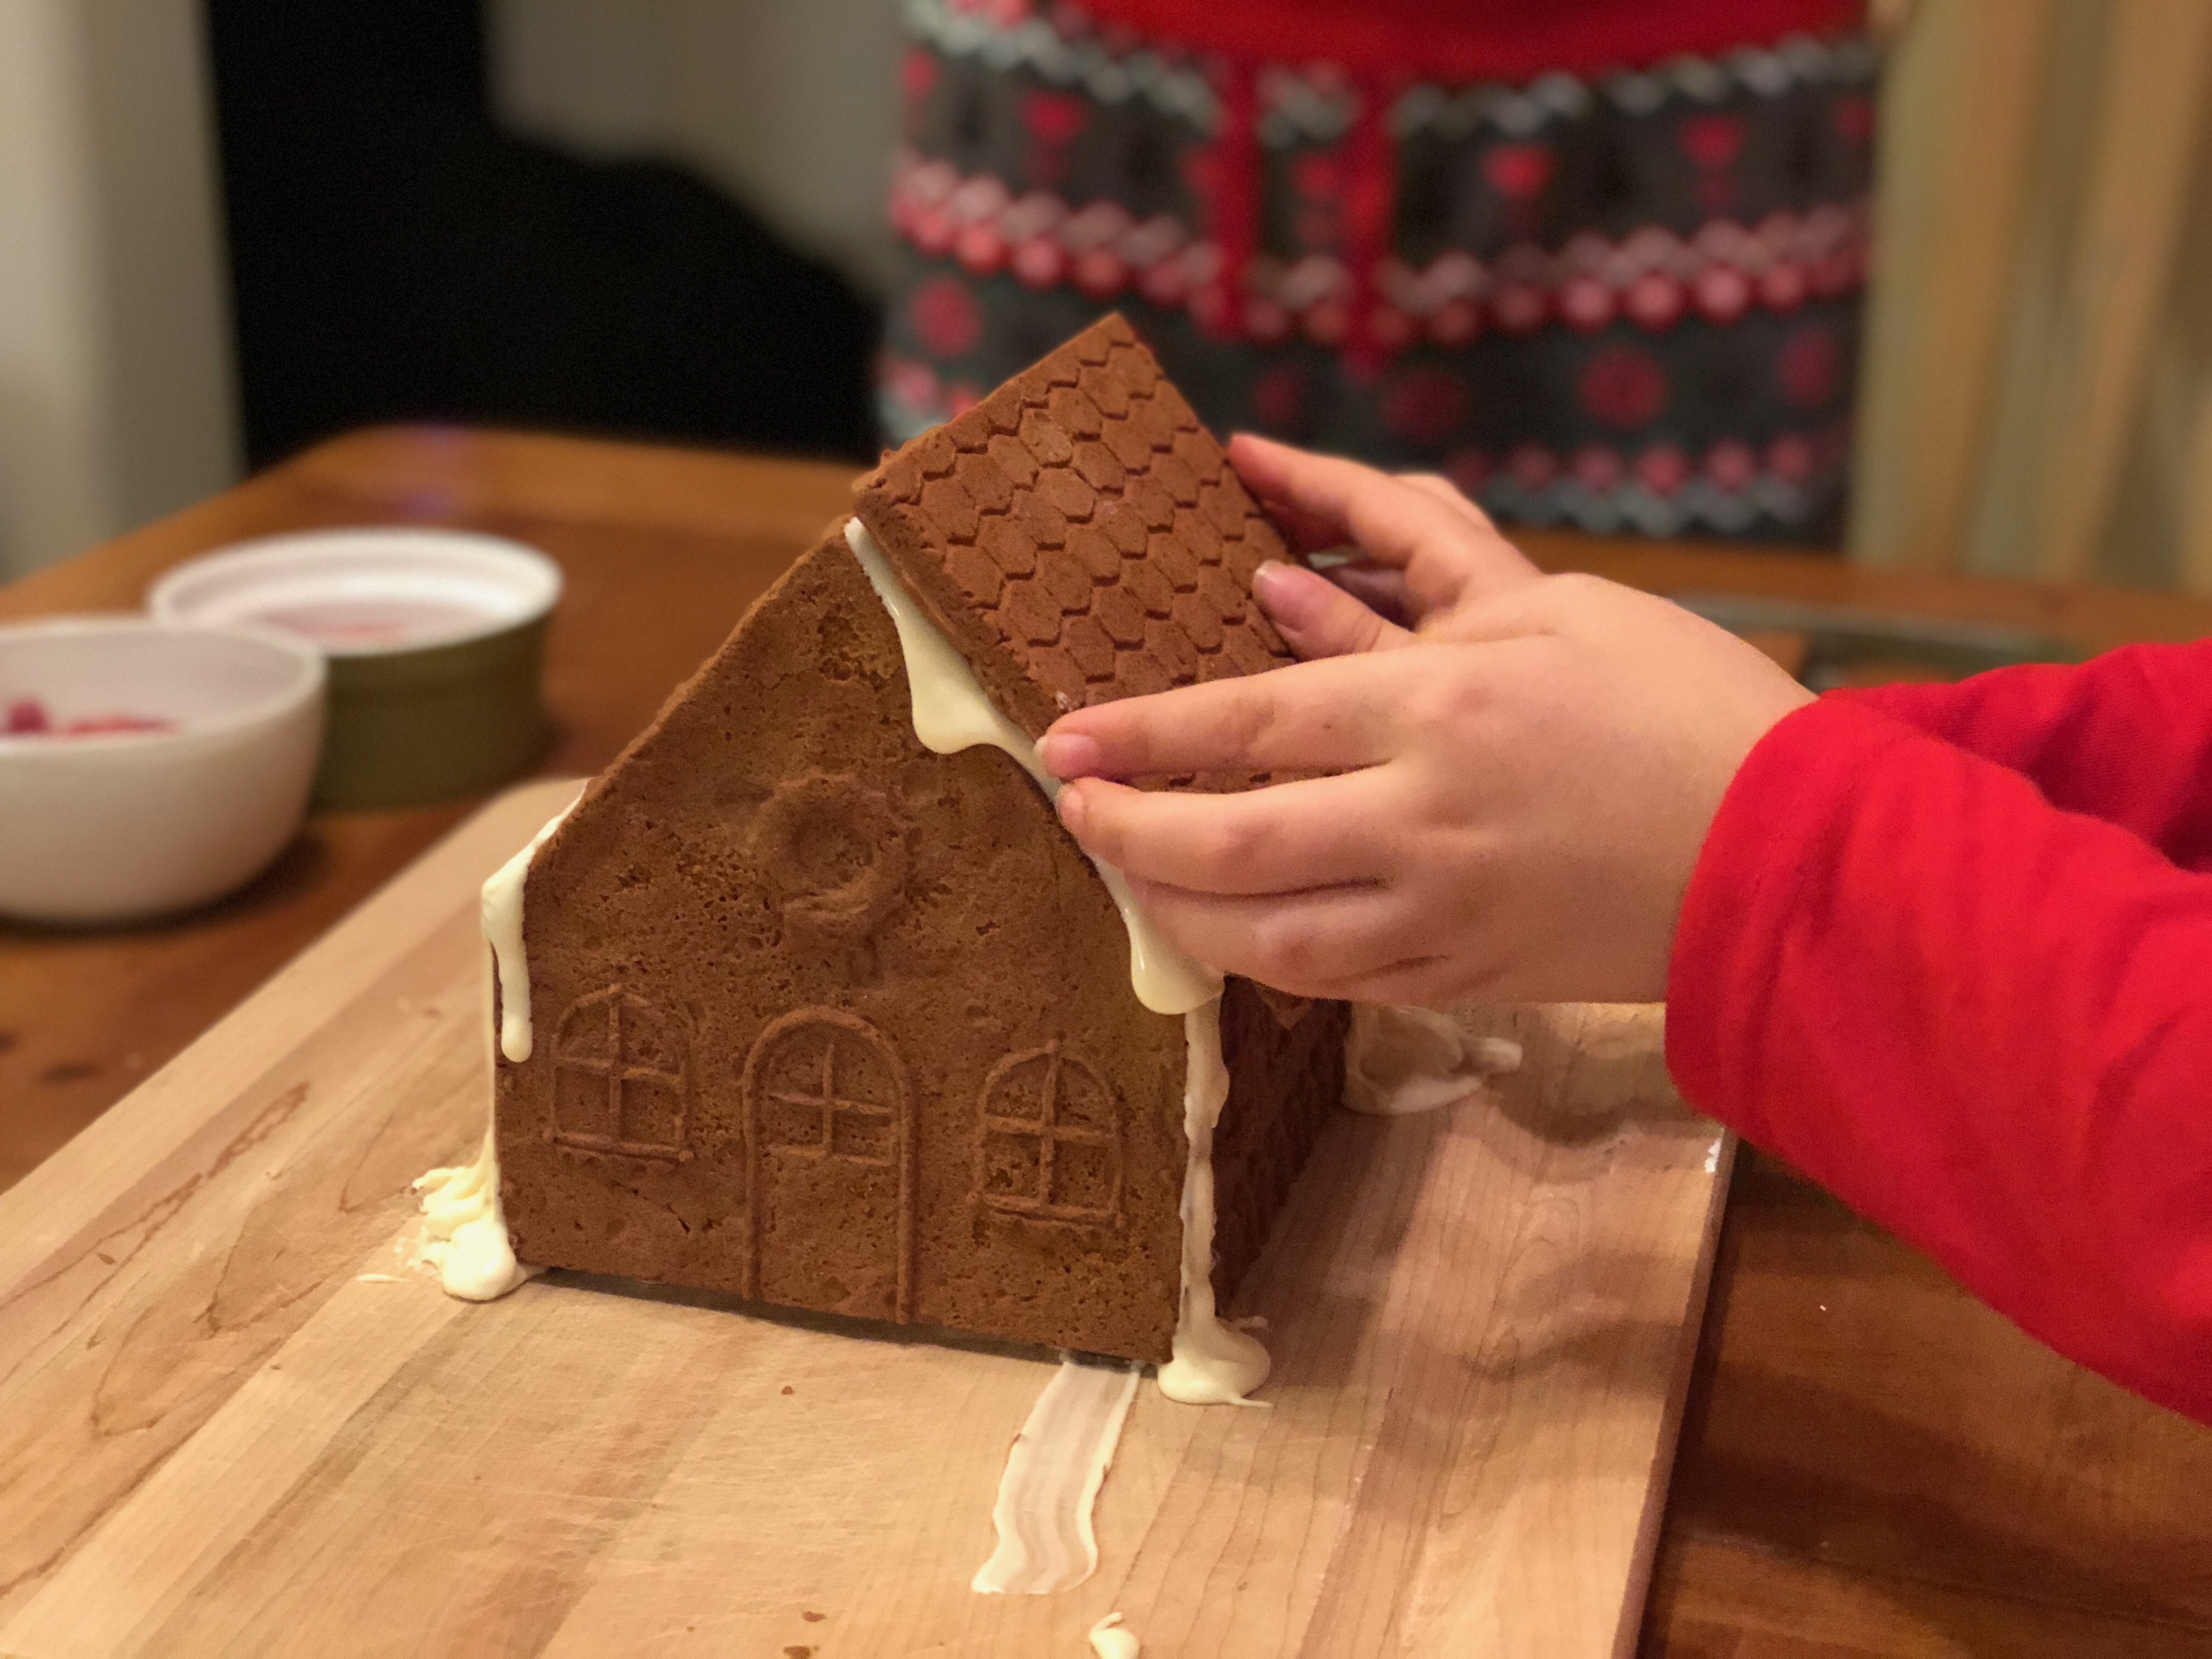
Next, comes the roof! Holding it until he white chocolate hardens as well.
Now we put our chiming on and we are ready to decorate!
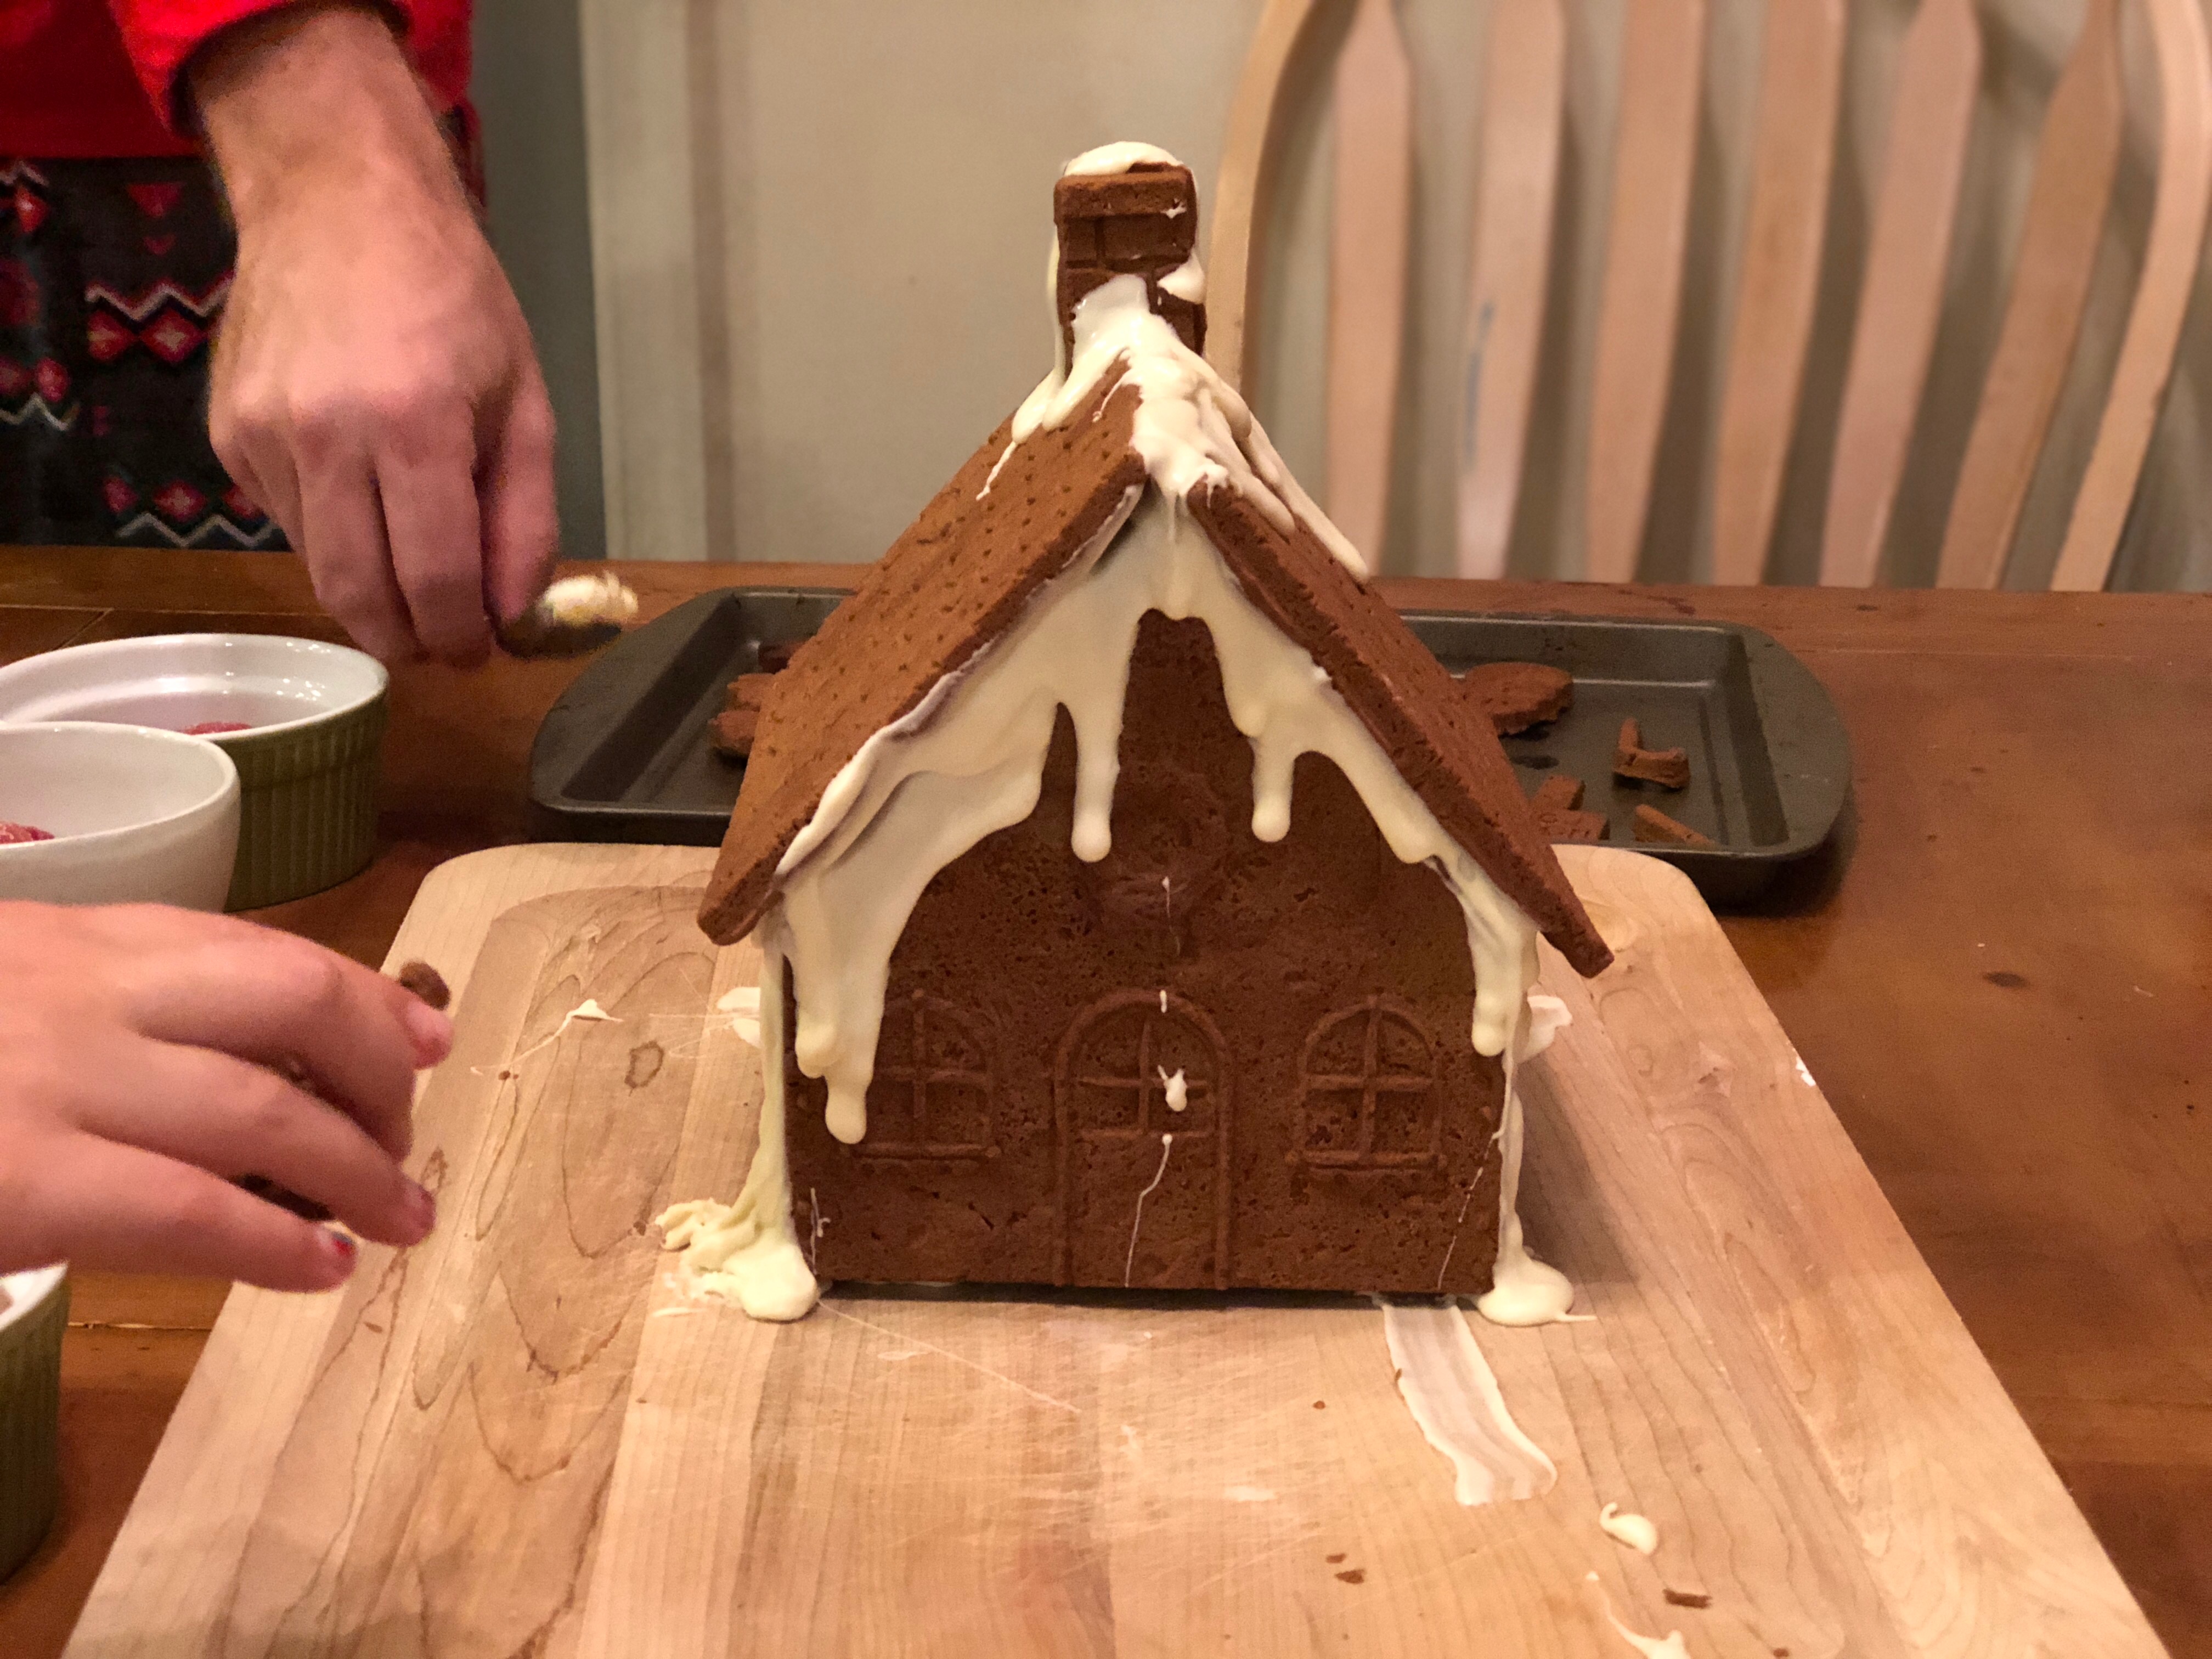
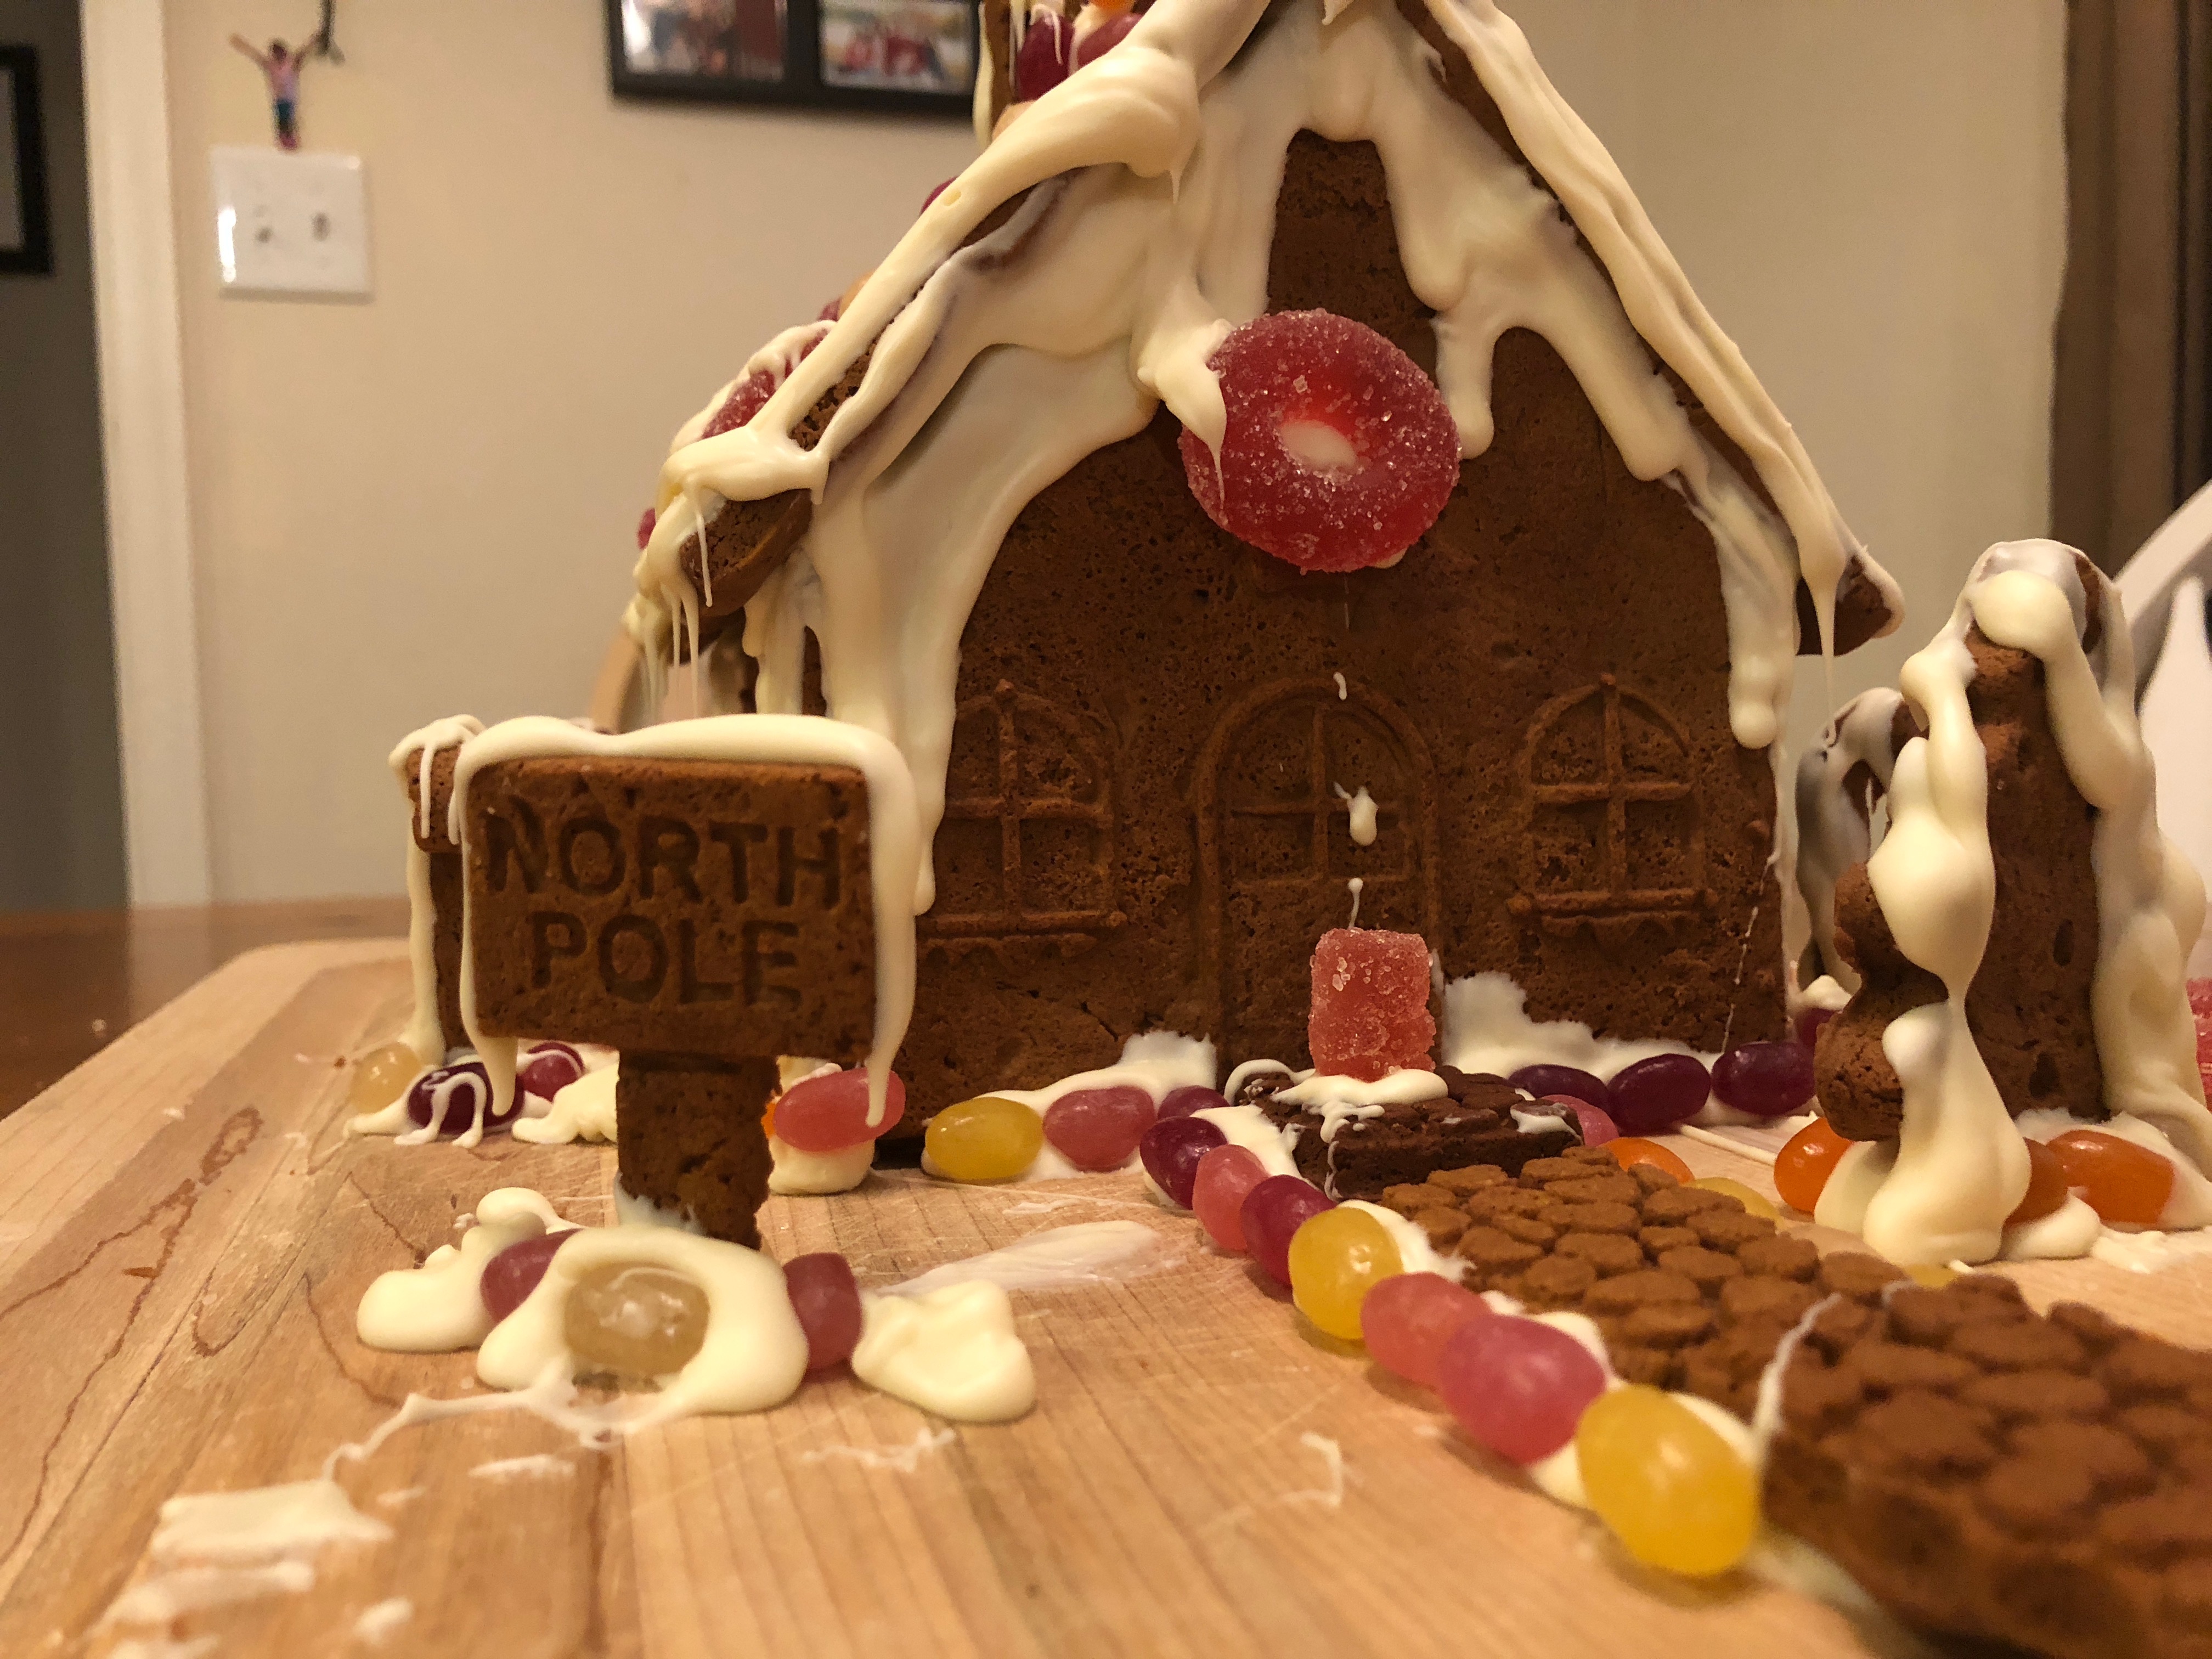
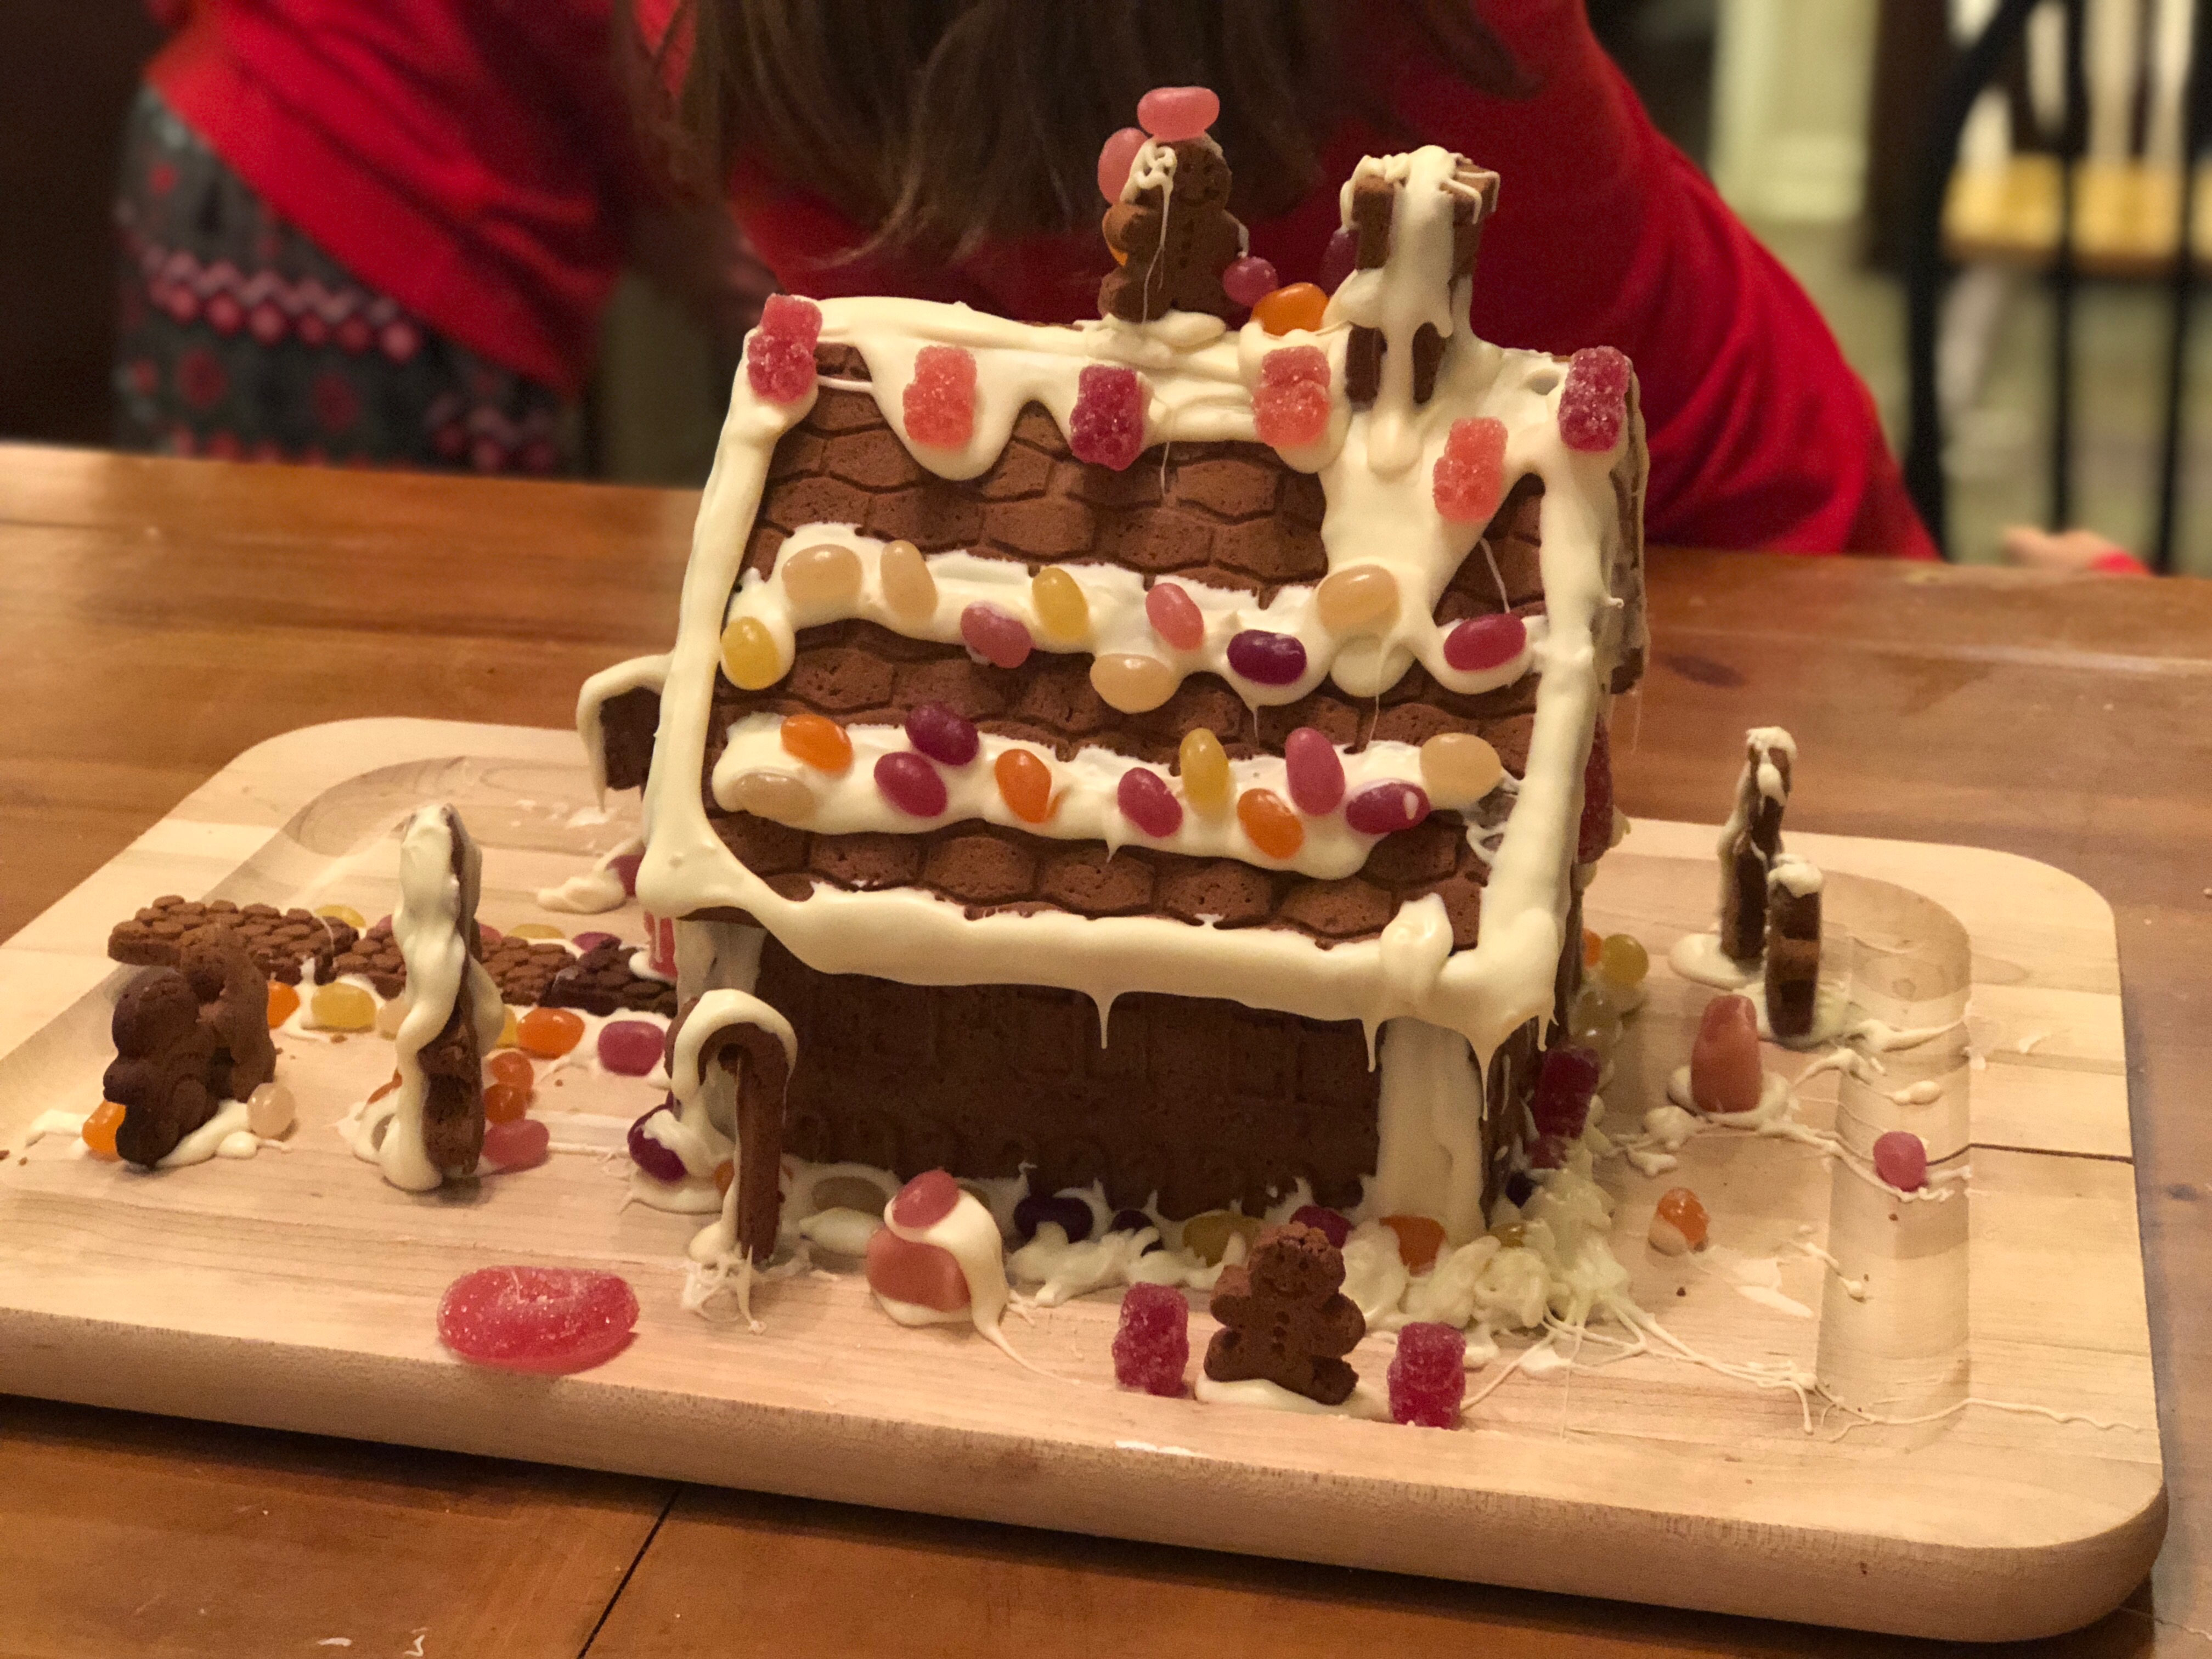
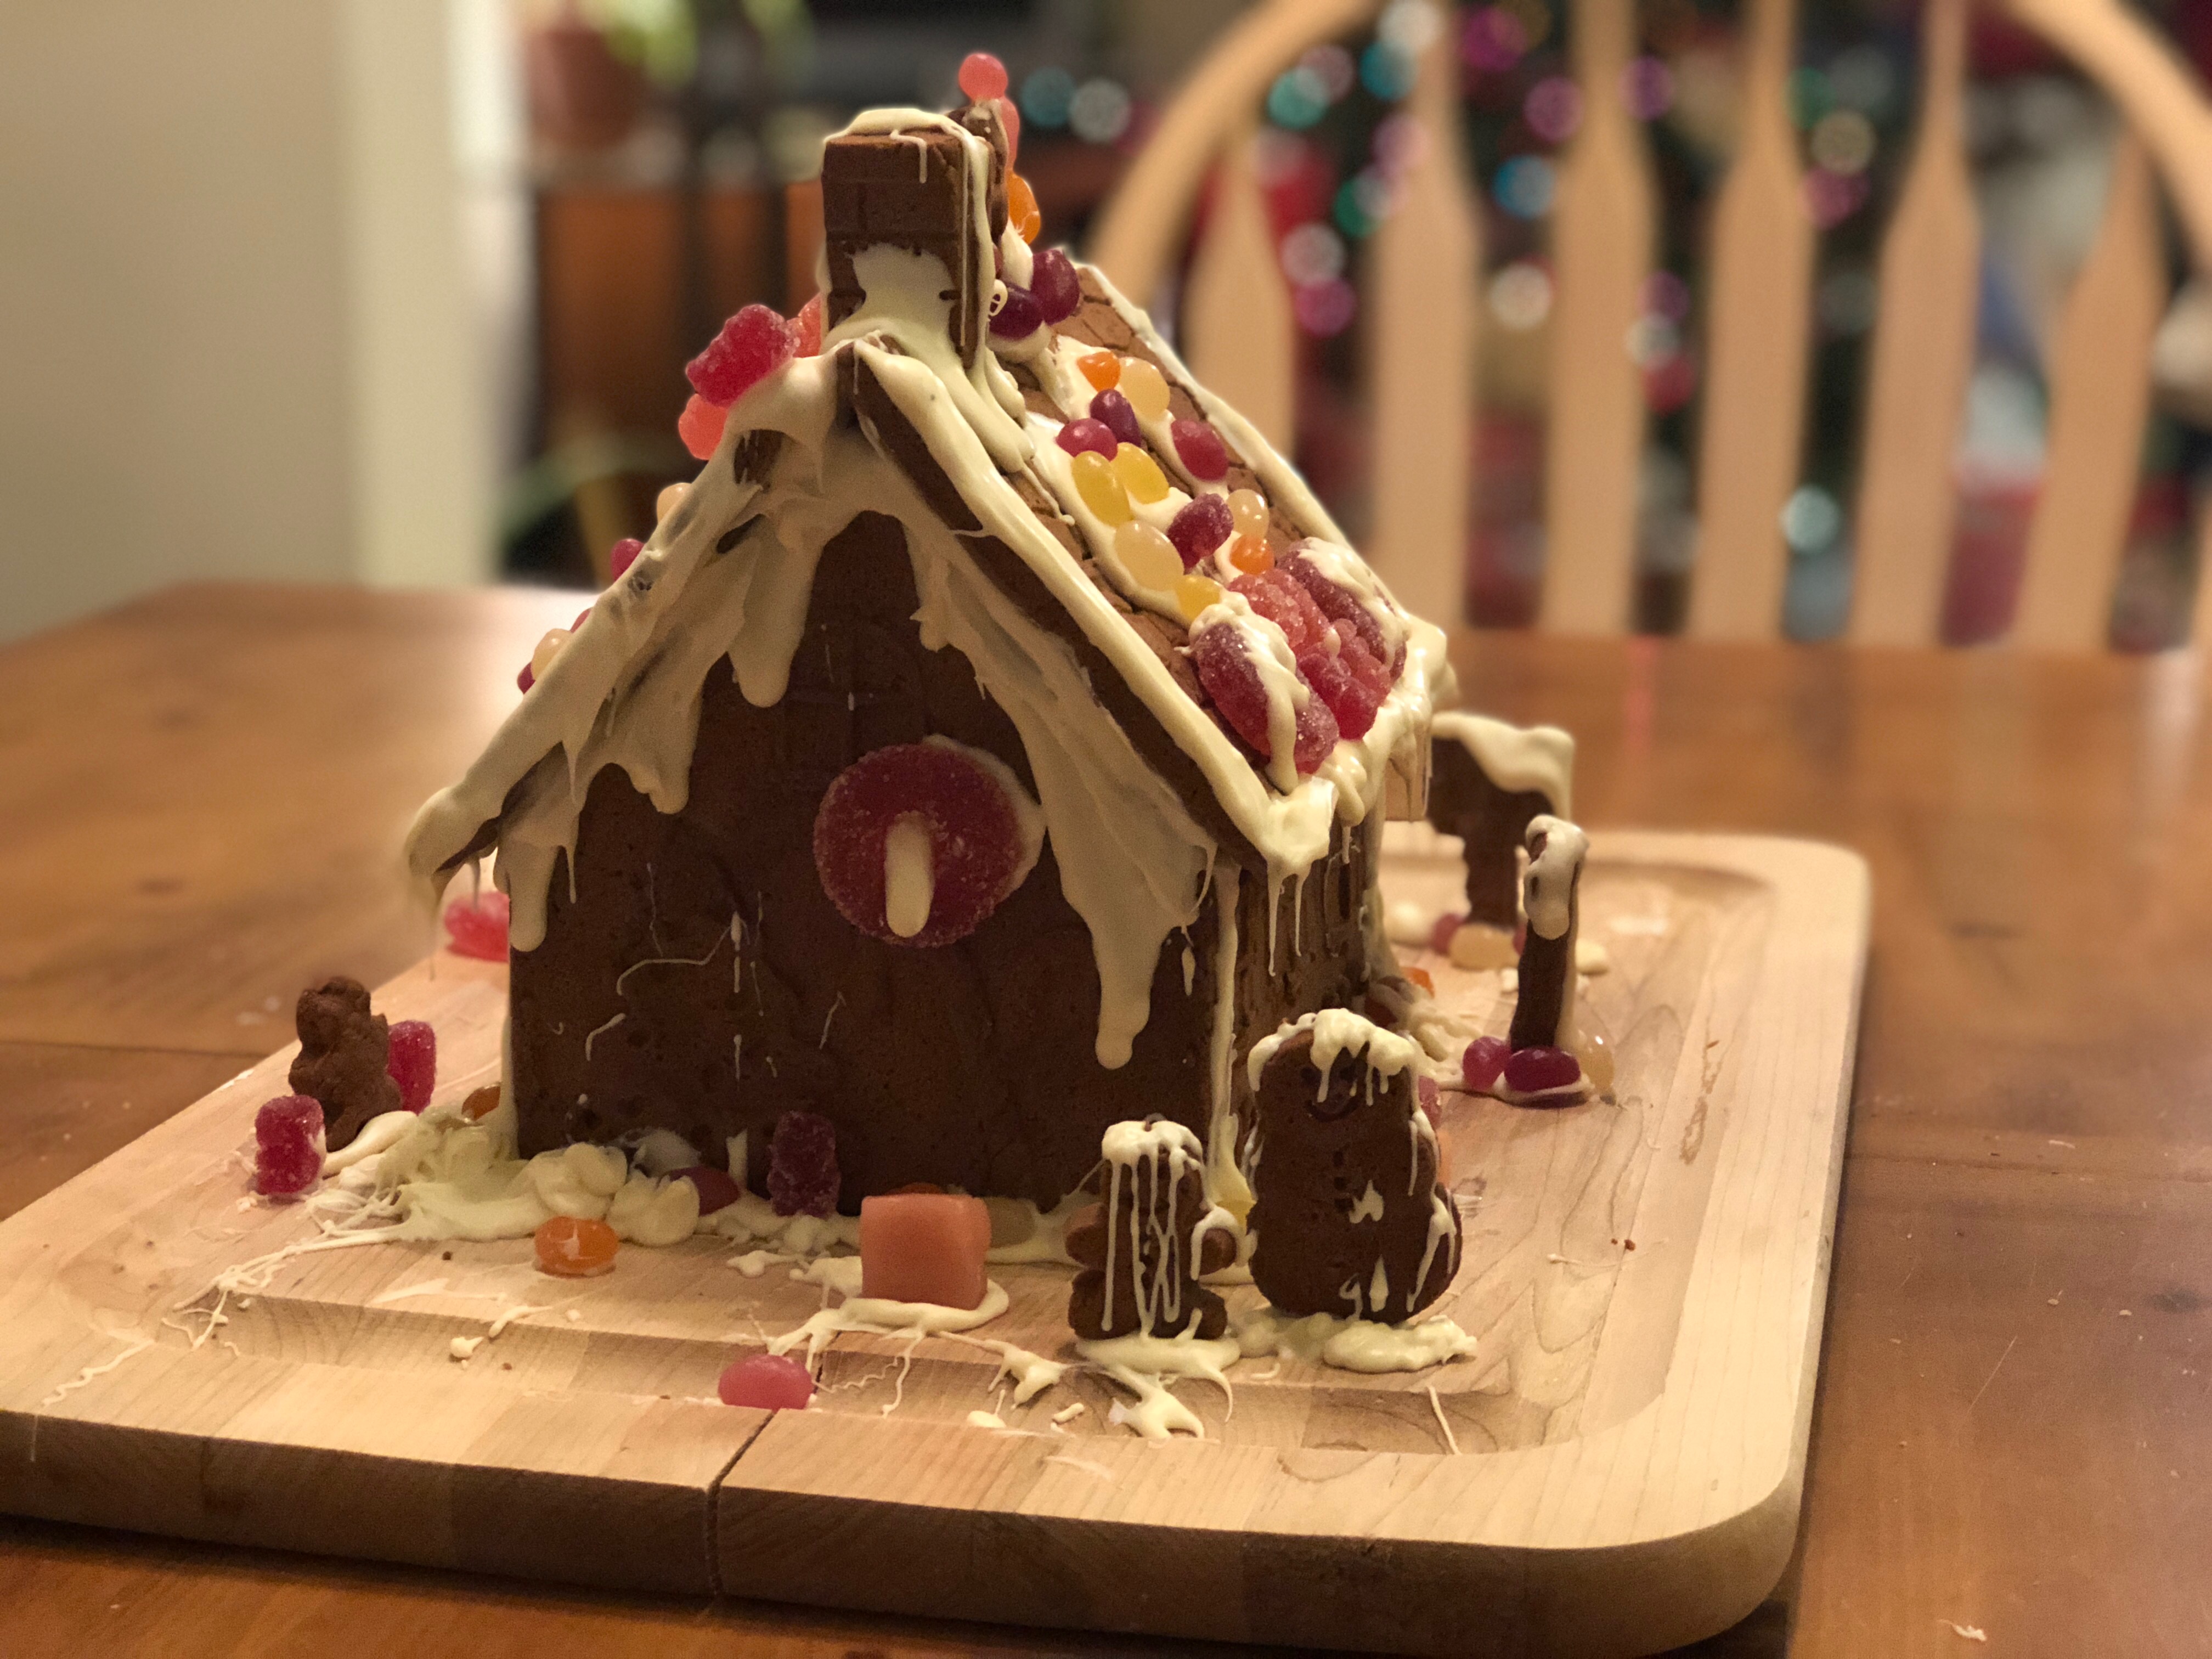
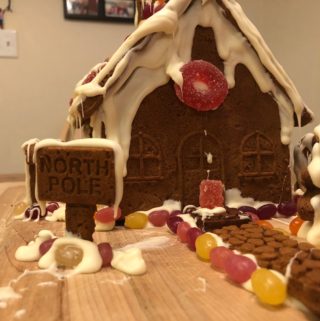
Here is the beautiful front of the house! My husband put extra white chocolate along the edges to make it look like the snow dripping down the sides of the house.
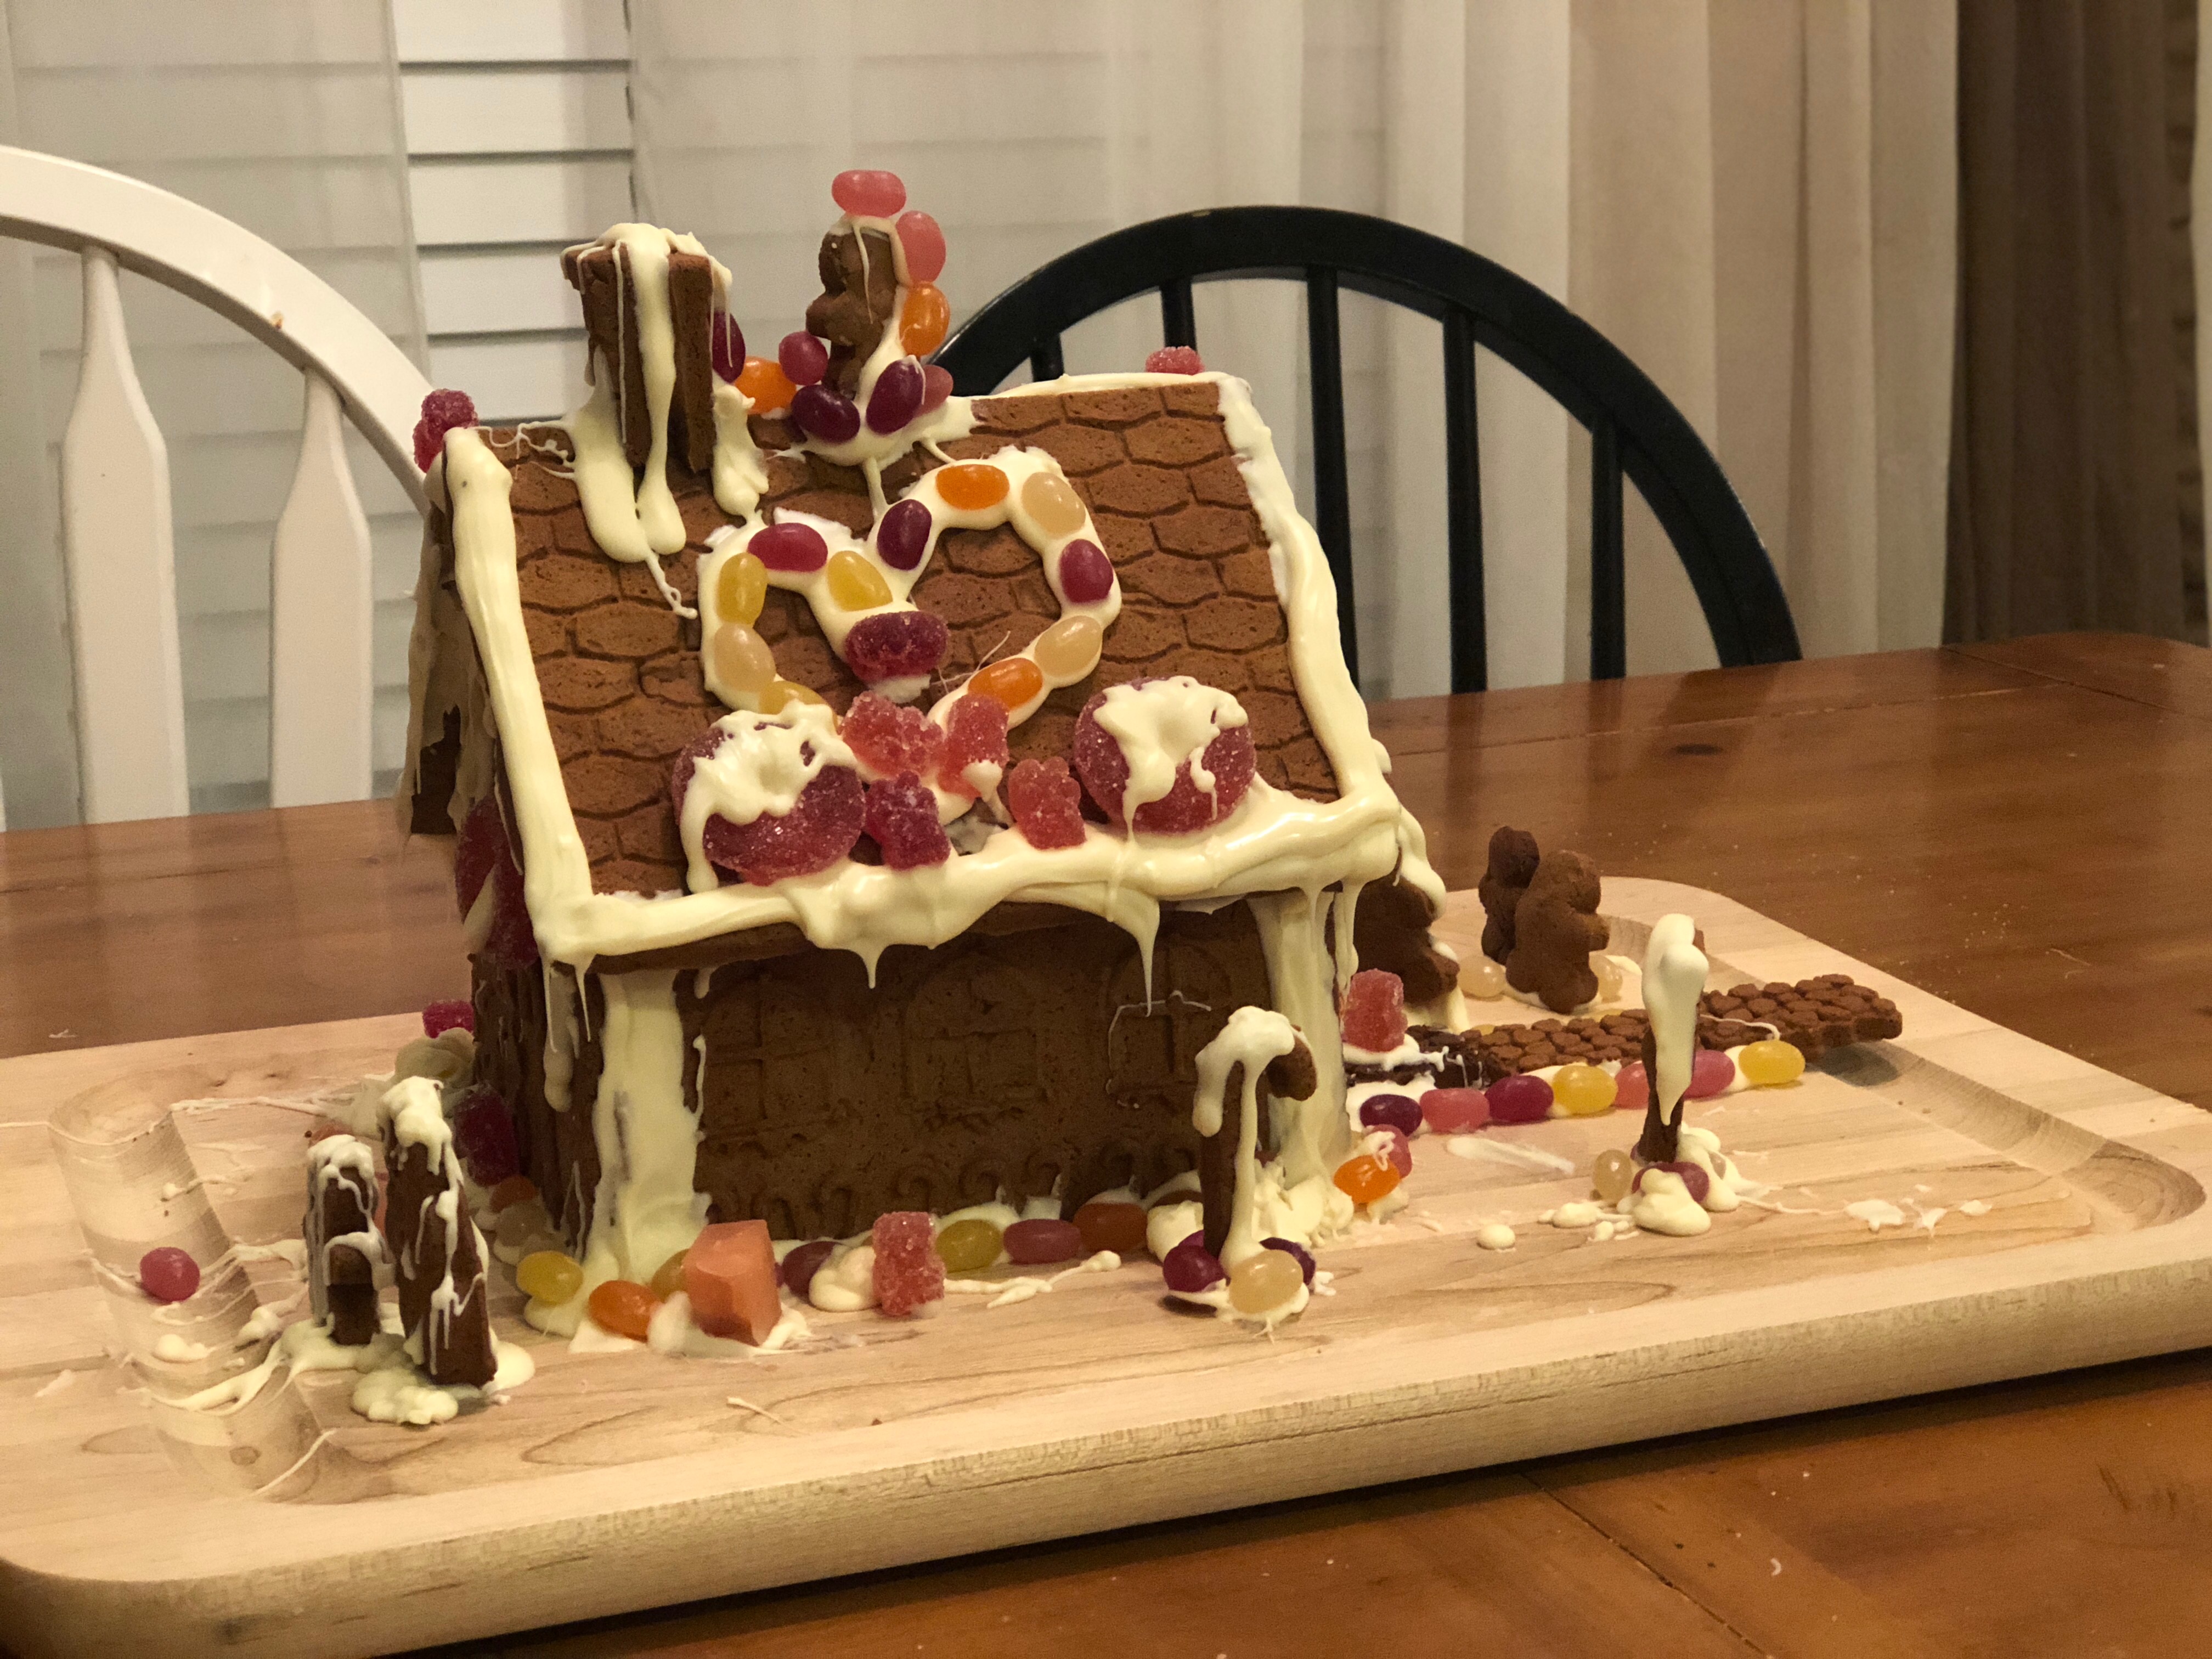
My oldest, age 10, decorated this side with her jelly bean lights.
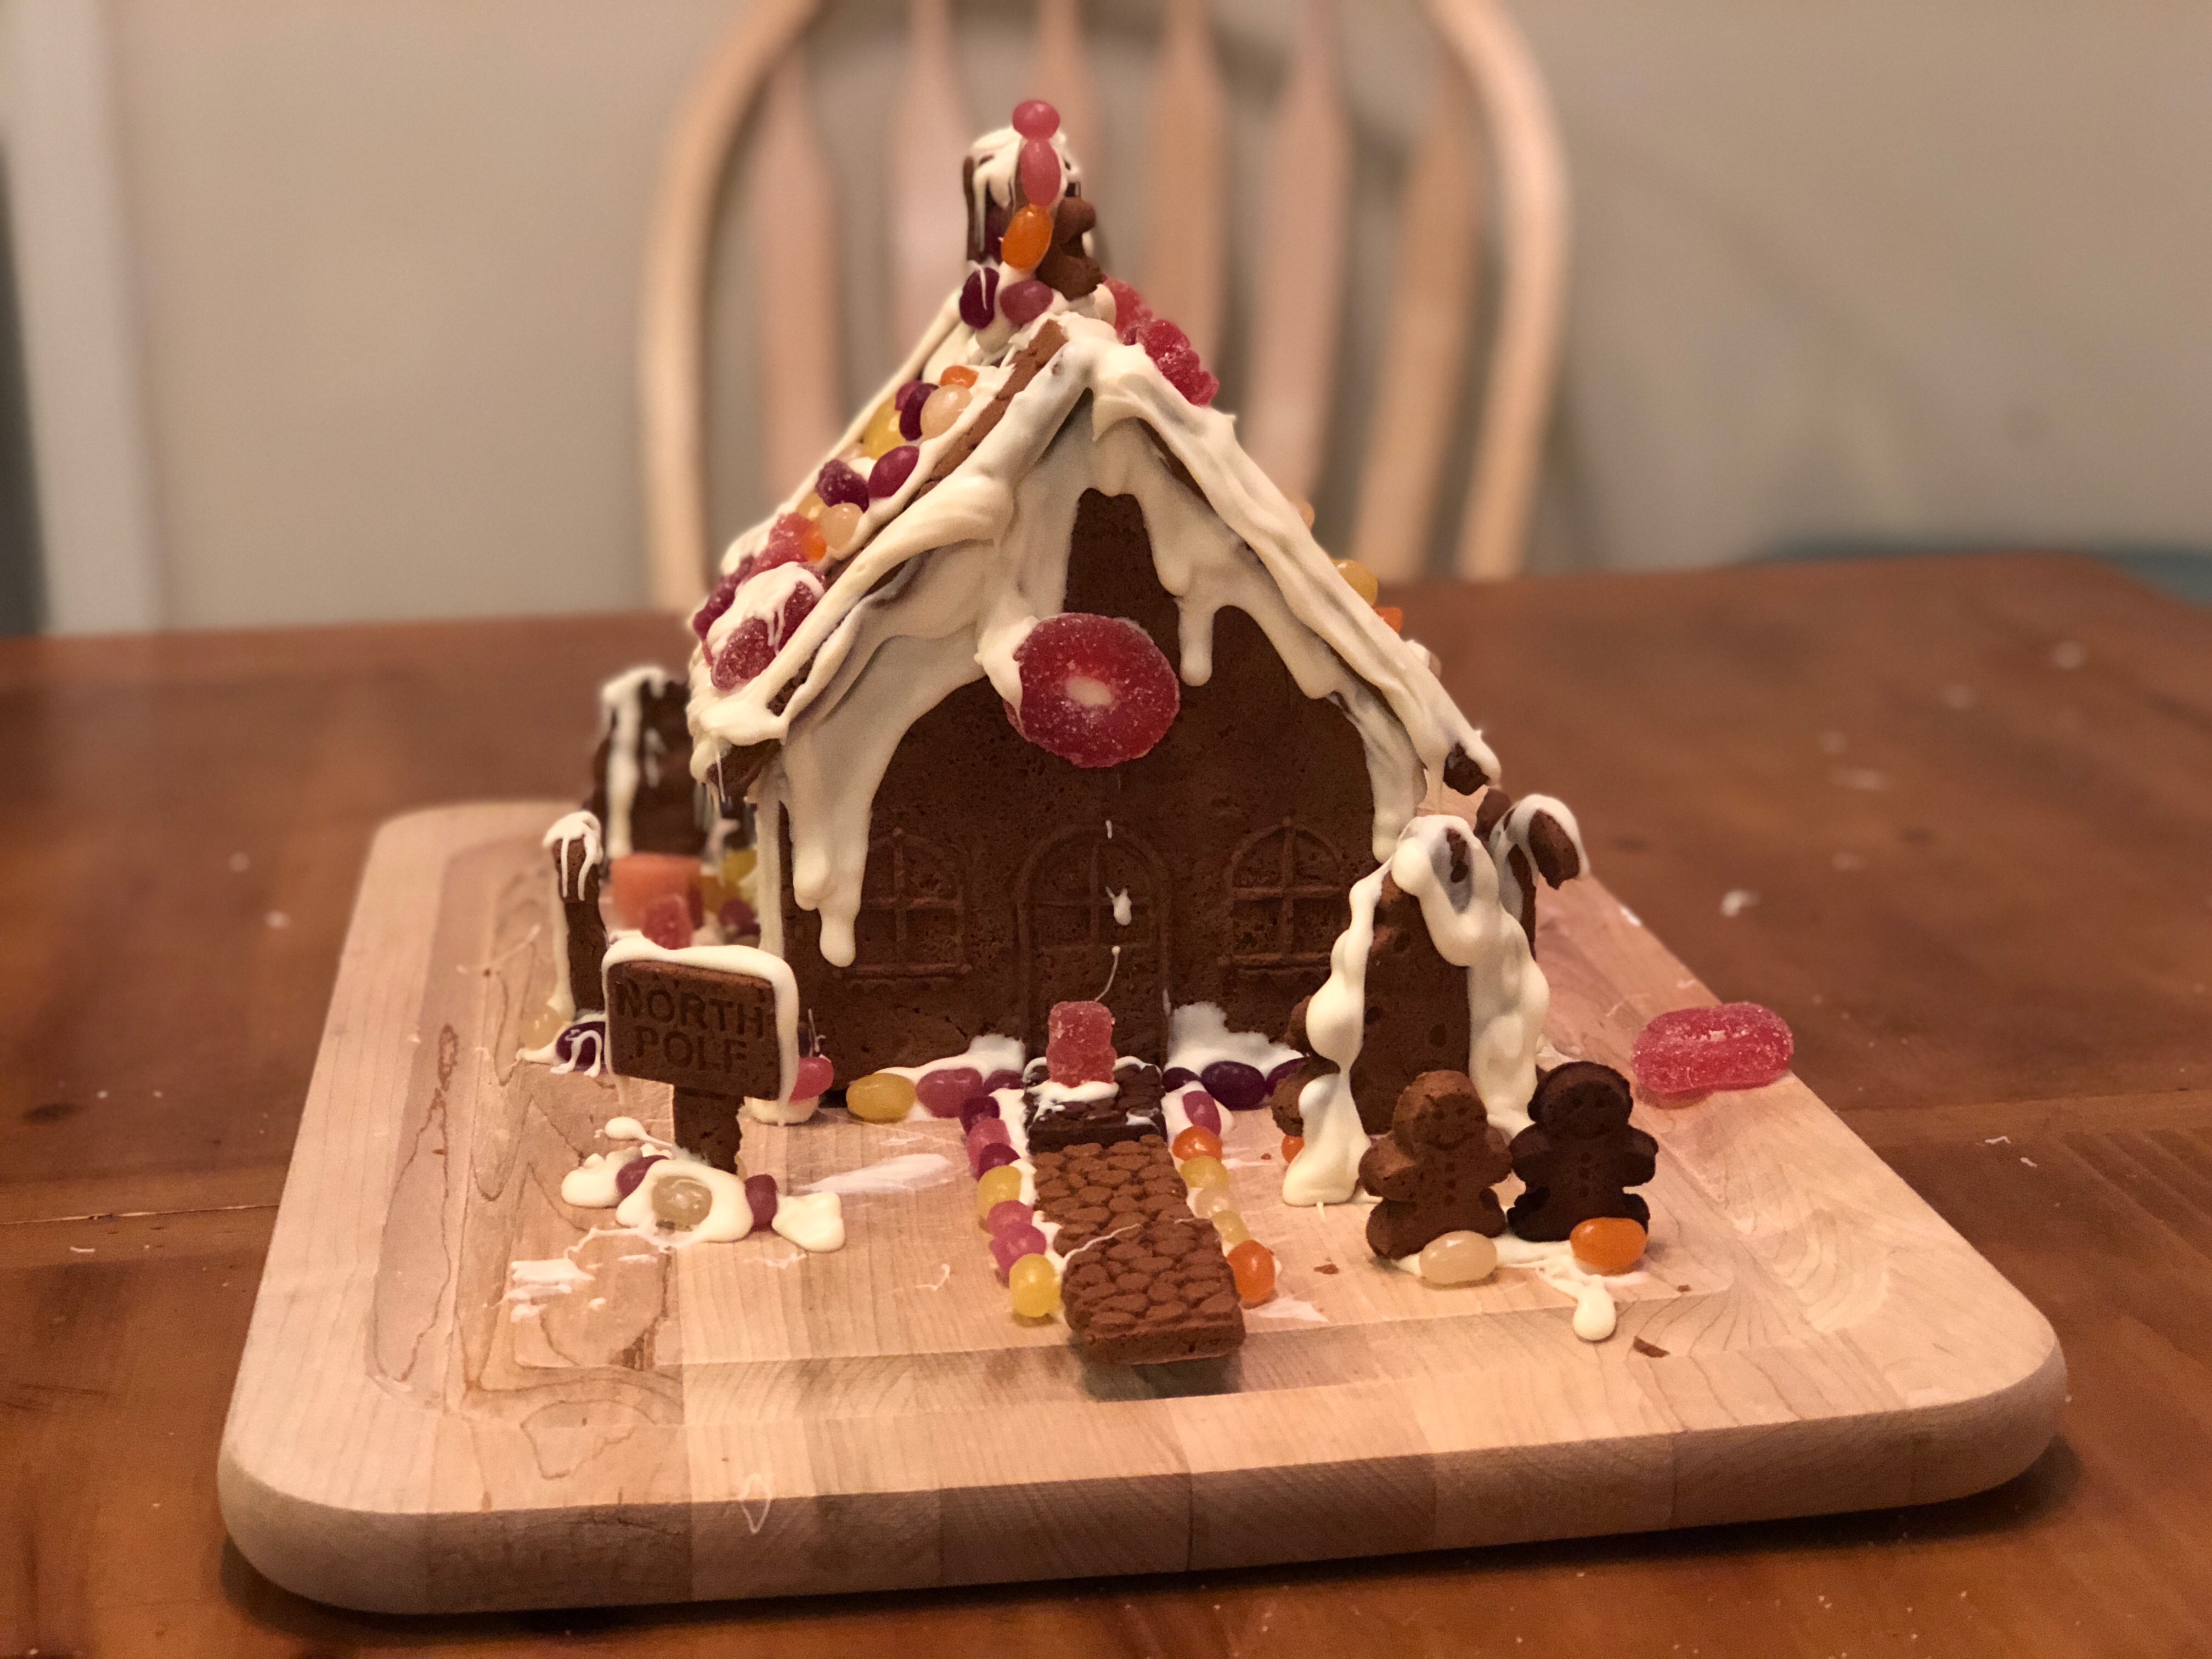
My sont, age 4, decorated the back of the house with his little gingerbread man and snowman.
The other side of the house was decorated by my daughter, age 8, where she had her gingerbread man up on the roof decorating with jelly bean lights.
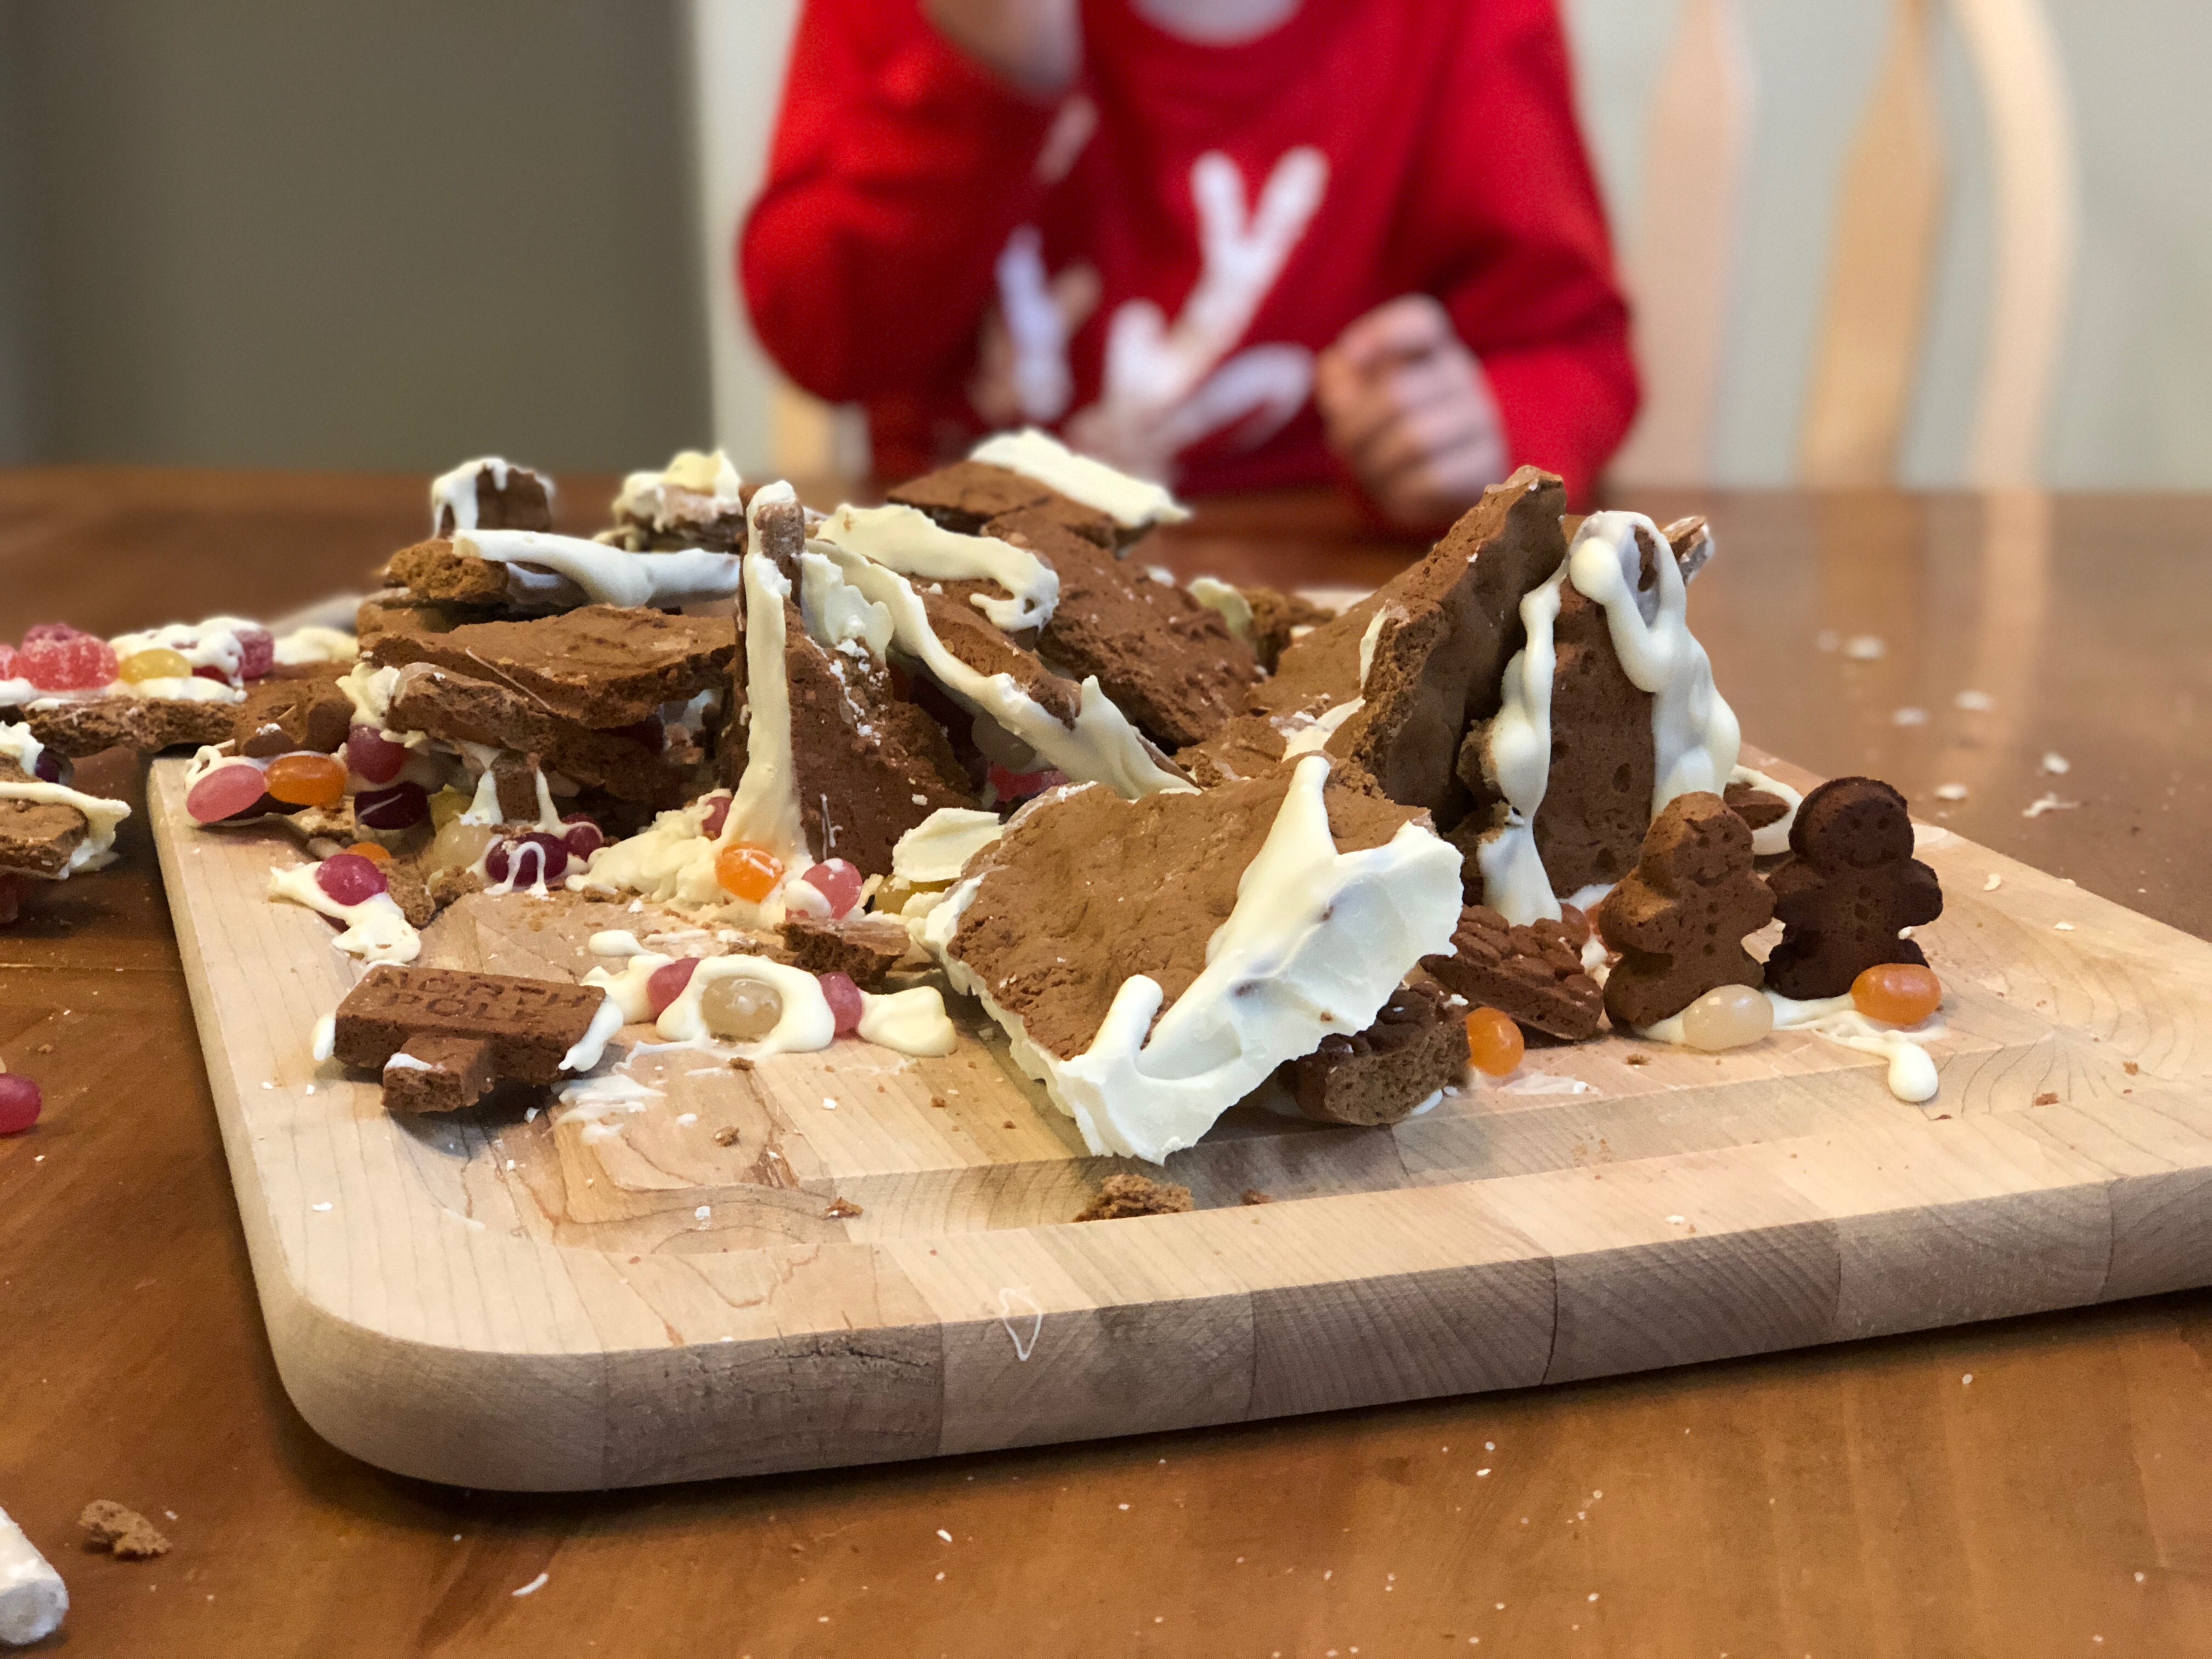
We make this Gingerbread house on Christmas Eve EVERY year, since it first started in 2011. The tradition continues during Christmas Day when we have our Annual Gingerbread SMASHING! The kids have wooden spoons and they attack the Gingerbread House and break it into tiny pieces! They then get to eat some, we mail some to family, and we save some for later.
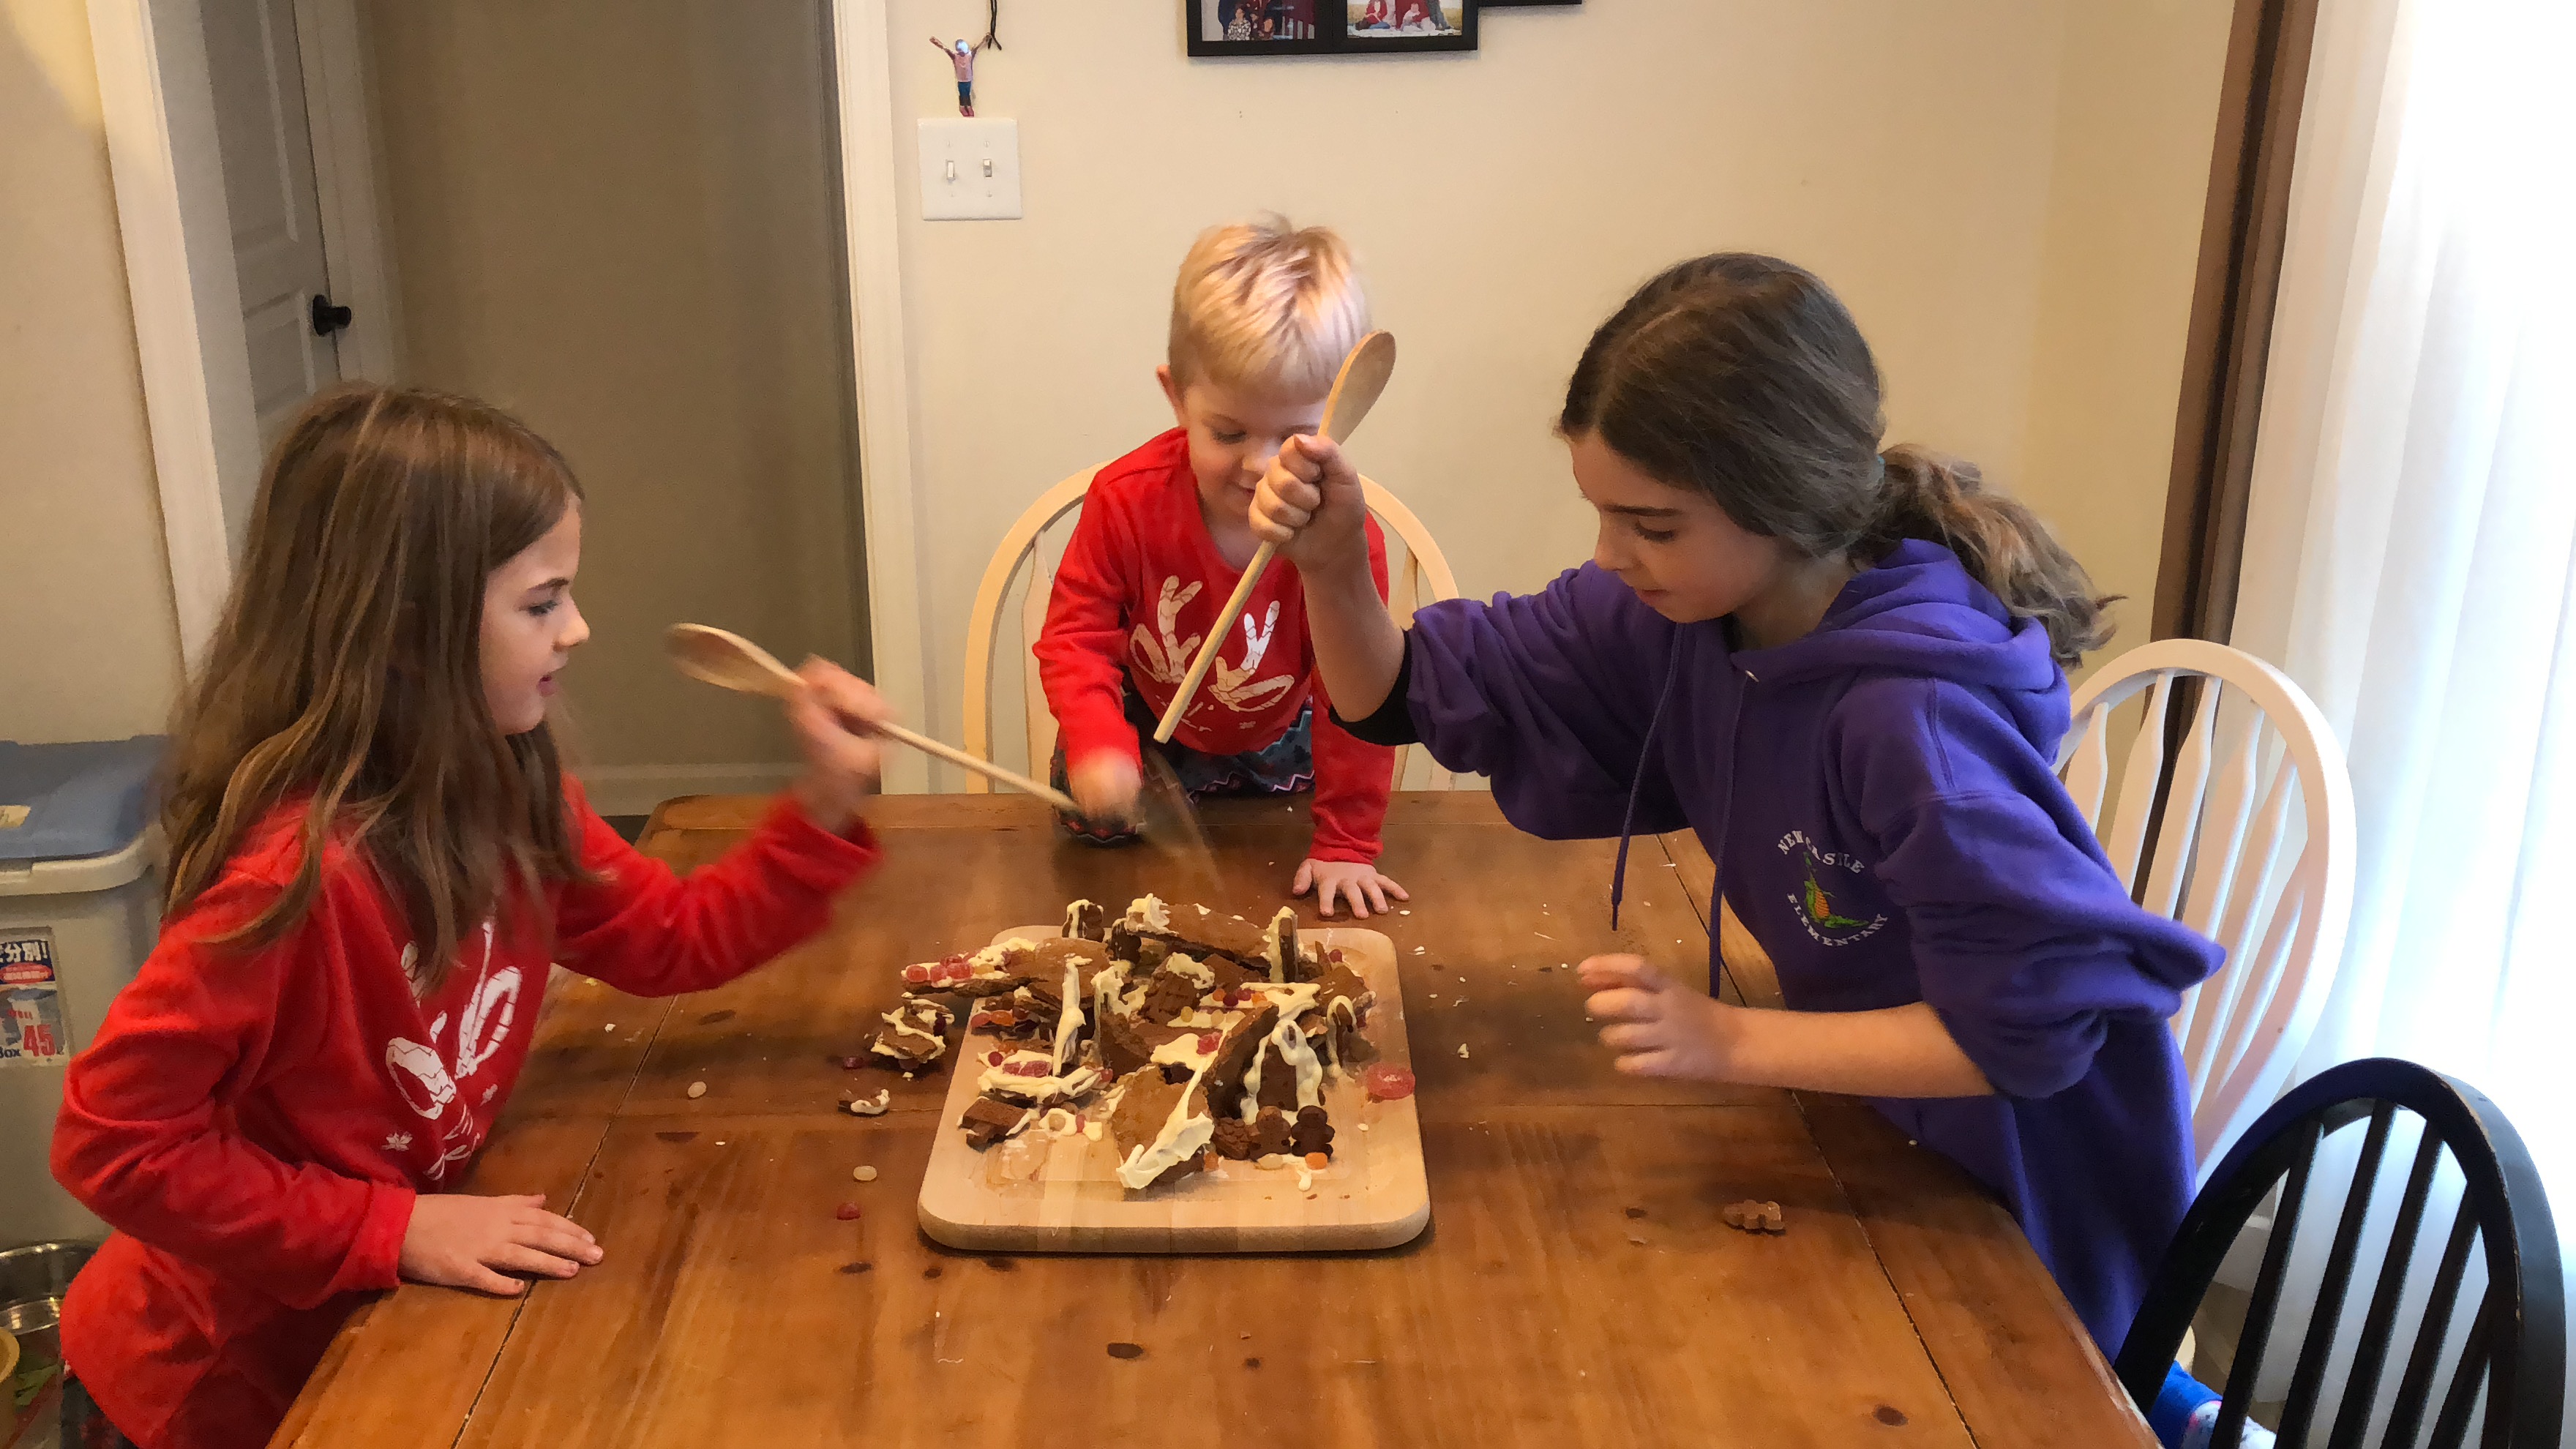
I am sure you are wondering where did that SMASHING of the Gingerbread House come from. Well, the same year, 2011, that we started the Gingerbread house making my dad was in town. We were trying to break it to eat pieces of the house when he decided to punch his fist into the roof. The kids thought it was SO funny so the SMASHING of the Gingerbread House continued from that year.
I am a sucker for traditions. We make it on Christmas Eve because then it is only 1 day old and still fresh to enjoy once we smash it on Christmas Day. Let me know if you start this tradition! The Wilton Gingerbread House Mold Pan you see me use has been discontinued but I found gingerbread house cutter pieces to make your own using the same gingerbread recipe I shared here. Check out the gingerbread house mold and my Kitchen Aid Mixer that I used to make the dough.
- 3 cups all-purpose flour
- ½ teaspoon baking soda
- ½ teaspoon salt
- 1 teaspoon ground ginger
- 1 teaspoon ground cinnamon
- ½ teaspoon ground nutmeg
- ½ teaspoon ground cloves
- ½ cup butter, softened (it called for vegetable shortening but I use butter)
- ½ cup granulated sugar
- ¾ cup molasses
- 1 egg, beaten
- 2 bags white chocolate chips
- Preheat oven to 325 degrees.
- In a large bowl combine flour, baking soda, salt and spices.
- In a separate bowl or Kitchen Aid Mixer, mix softened butter, sugar, molasses and egg. Mix well.
- Start by adding in 2 cups of the flour mixture and mix well.
- If using the Kitchen Aid mixture change it to the dough hook and knead in the remaining flour mixture. If not, move the dough to a floured surface and knead it in by hand.
- Add additional flour, if necessary, to make firm dough. I had to add about ½ a cup more flour slowly by handfuls before I got the consistency I wanted.
- Press into prepared gingerbread mold pan, or roll out for house cutters.
- Bake 20-23 minutes or until lightly browned at the edges.
- Cool in pan for 15-20 minutes and then take out and cool completely before building your gingerbread house.
- While house pieces are cooling melt your white chocolate pieces either on the stove top or in the microwave. I do the microwave with 1 minute then stir, then 30 seconds and stir until it is completely melted but thick.
- www.bairnecessity.com
Leave a Reply